Ask any homeowner who finished a major remodel if they stayed under budget, and most will laugh. Industry studies show that over 75 percent of residential renovation projects exceed their initial estimate by at least 20 percent. The reason is simple: homeowners budget for the visible finishes like cabinets, quartz countertops, and designer faucets, while completely forgetting the invisible infrastructure required to install them.
A Real Renovation Story: The $14,000 Kitchen Surprise
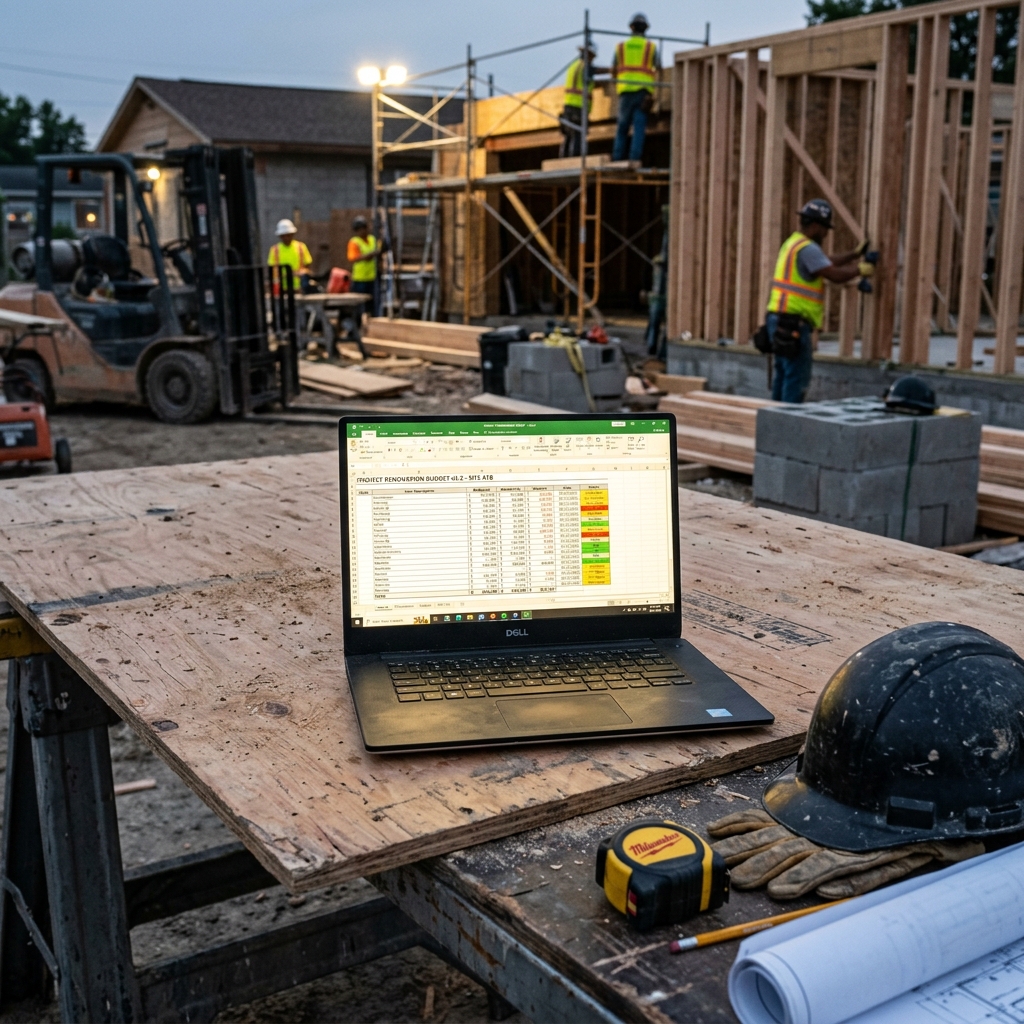
In early 2026, a client in Chicago planned a $45,000 kitchen remodel. They spent three months picking out custom oak cabinetry and commercial-grade appliances. However, when the contractor opened the walls, three unforeseen issues appeared: ungrounded knob-and-tube wiring that failed electrical code, a sagging subfloor under the refrigerator location, and a rusted main plumbing stack. Fixing these structural items cost $14,200. Because the client had set aside zero contingency funds, they had to downgrade their cabinetry and delay their backsplash installation by six months.
Unmasking Hidden Infrastructure Costs
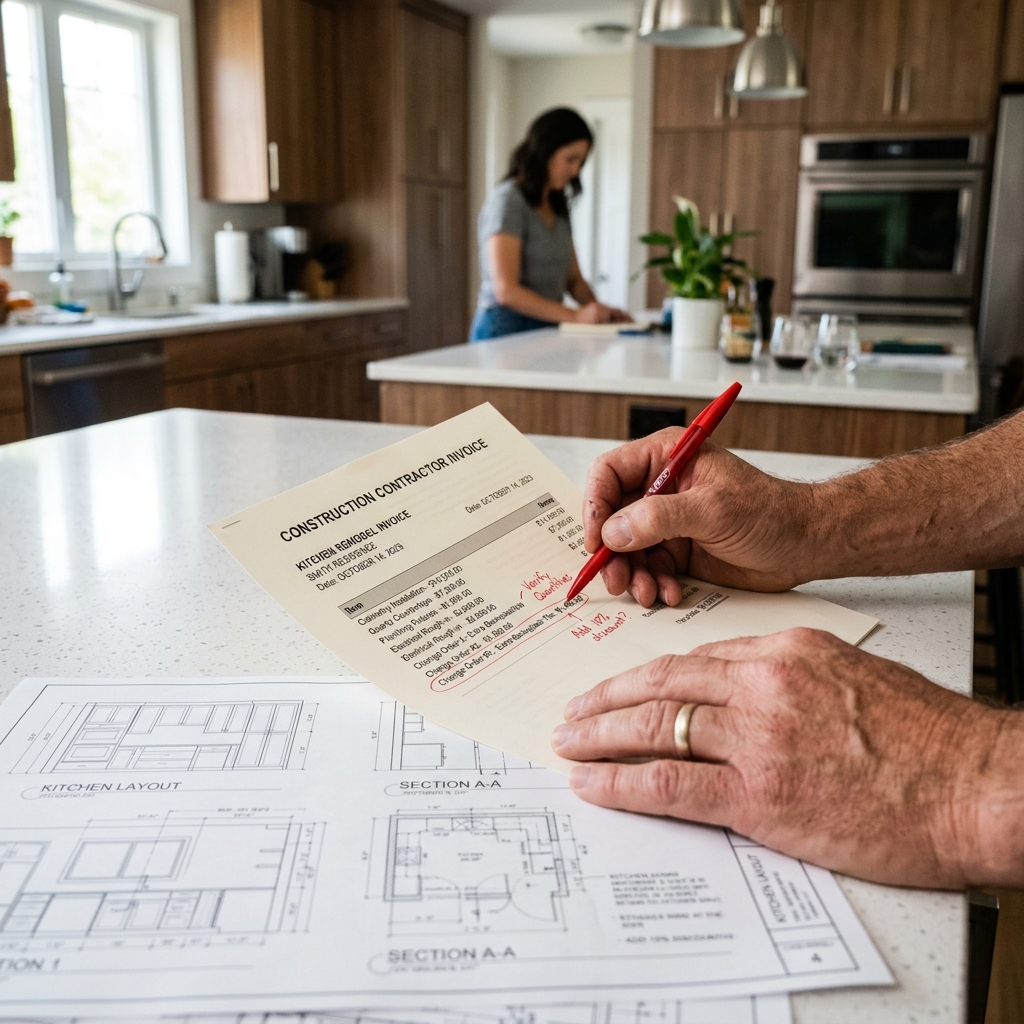
When building a renovation budget, line items fall into three distinct tiers: finish materials, rough materials, and trade labor. Most DIY estimates only include tier one.
Rough materials include items like half-inch drywall sheets ($18 each), copper fitting packs, electrical boxes, self-leveling compound, subfloor adhesive, and fastener screws. On a full room remodel, rough materials easily add $1,500 to $3,000. If you leave them off your spreadsheet, your project starts in the red.
Demolition and disposal fees are another frequent oversight. Renting a 10-yard roll-off dumpster costs $450 to $650 depending on your municipality, plus overage charges for heavy concrete or tile debris. Town permit fees for electrical and plumbing inspections add another $300 to $800.
Understanding Scope Creep and Change Orders
Scope creep happens when small upgrades accumulate mid-project. Deciding to add under-cabinet LED strip lighting sounds minor, but it requires a dedicated transformer, electrical wire runs back to the panel, and custom drywall patching. A $150 light fixture quickly becomes a $900 change order.
Contractors bill change orders at premium hourly rates because they interrupt scheduled workflow. Using an itemized calculator before signing contracts helps you lock in all features upfront when labor pricing is competitive.
Step-by-Step Construction Budgeting Method
Follow this systematic process to build a bulletproof renovation budget:
- Step 1: Obtain three itemized quotes from licensed contractors. Ensure quotes separate labor hours from material allowances.
- Step 2: Calculate fixed material costs. Input exact square footages into material calculators to get true box counts.
- Step 3: Add a 20% hard contingency fund for homes under 30 years old, or a 30% contingency fund for homes over 50 years old.
- Step 4: Add permit fees, dumpster rentals, and portable toilet rental fees if applicable.
- Step 5: Lock in a written change-order policy with your contractor before work begins.
Common Mistakes That Drain Renovation Budgets
Avoid these four major pitfalls when planning your renovation finances:
- Relying on contractor allowances: Contractors often list low ball material allowances ($3/sq ft for tile) to win bids. Always shop actual finish prices beforehand.
- Buying finish items out of order: Purchasing vanity units before rough plumbing is located leads to expensive pipe re-routing.
- Ignoring delivery and freight fees: Heavy stone countertops or custom doors incur $200-$500 in freight fees that are rarely listed in unit pricing.
- Depleting contingency funds early: Spending your contingency money on upgraded finishes during week one leaves you unprotected when wall rot is discovered during week three.
Frequently Asked Questions About Renovation Budgeting
What percentage of a renovation budget should go to labor?
In general, labor accounts for 50 to 60 percent of a total renovation budget. Highly specialized trades like master electricians and licensed plumbers command higher hourly rates than general carpentry.
How do I handle contractor change orders?
Require all change orders to be written, signed, and priced before the additional work is executed. Never agree to open-ended time-and-materials change orders verbally.
Is a 10 percent contingency fund enough?
A 10 percent contingency is adequate for cosmetic updates like painting or replacing pre-hung doors. For full gut renovations or older homes with unknown plumbing and wiring, 20 to 30 percent is necessary.
Deconstructing Contractor Overhead and Profit Metrics
When evaluating professional contractor estimates, understanding Overhead and Profit (O&P) is essential. Standard general contractor pricing adds 10 percent for operating overhead (insurance, license fees, estimating tools) and 10 percent for net profit margin, commonly known as 10-and-10.
On a $50,000 project, O&P accounts for $10,000 of the total invoice. Attempting to negotiate down contractor profit margins often leads to contractors cutting corners on rough trade sub-contractors or rushing prep work.
Material Allowance Traps in Bidding Contracts
Contractors often win competitive bids by populating line-item estimates with low material allowances. For instance, a contract might budget $3 per square foot for hardwood flooring, $2 per square foot for wall tile, and $250 for a bathroom vanity. When you go shopping at retail showrooms, high quality hardwood costs $7 per square foot and solid wood vanities cost $900.
Before signing any renovation contract, audit every material allowance line item against actual retail store prices. Require the contractor to update the contract with true finish prices prior to starting construction.
How do fixed-price contracts differ from time-and-materials?
Fixed-price contracts set a total guaranteed project price for a specific scope of work, shifting cost overruns onto the contractor. Time-and-materials contracts bill actual trade hours plus wholesale material costs, leaving final costs open-ended.
Should I buy my own fixtures to save money?
Supplying your own fixtures can save retail markups, but contractors will not warranty homeowner-supplied parts. If a self-purchased faucet leaks, you must pay the plumber labor costs to uninstall and replace it.
Professional Trade Best Practices and Environmental Considerations
Building codes and environmental conditions dictate how long interior materials remain functional. Environmental factors like relative humidity shifts, thermal expansion coefficient, subfloor moisture vapor emission rates, and structural deflection play massive roles in project longevity. Professional contractors always test ambient indoor air conditions using digital moisture meters and thermo-hygrometers prior to unloading finish materials on site.
Acclimation is a mandatory requirement for all wood, laminate, and luxury vinyl flooring products. Store boxed materials inside the climate-controlled installation space for a minimum of 48 to 72 hours prior to opening packages. This allows internal moisture content to balance with home HVAC operating levels, preventing post-installation board buckling or joint gaps.
Detailed Tool Checklist and Equipment Safety
Working efficiently requires gathering appropriate safety gear and specialized trade tools before starting construction. Always wear ANSI-approved eye protection, N95 dust respirators when cutting masonry or drywall, and heavy-duty knee pads during floor installations. Keep a calibrated 4-foot spirit level, laser measuring tool, steel square, and chalk line on hand for layout accuracy.
- Personal Protective Equipment: N95 respirators, hearing protection, safety glasses, cut-resistant gloves.
- Layout Tools: 4-foot spirit level, laser distance meter, framing square, blue chalk reel.
- Cutting Tools: Miter saw with carbide finish blade, oscillating multi-tool, utility knife with fresh blades.
- Surface Prep Tools: Floor scraper, margin trowel, heavy-duty mixing paddle, shop vacuum with HEPA filter.
What building codes govern residential interior renovations?
Residential renovations are governed by the International Residential Code (IRC) alongside local municipal amendments. Key code enforcement areas include structural joist span limits, stairway riser heights, egress window dimensions, and electrical GFCI/AFCI breaker requirements.
How can I check if a contractor is properly licensed and insured?
Always request a copy of the contractor’s state license number and Certificate of Insurance (COI) listing general liability and workers’ compensation coverage. Verify license standing directly on your state department of professional regulation portal.
Professional Installation Standards and Material Science
Understanding the material science behind interior building components prevents premature failure. Every building material, from ceramic tile thinset and gypsum drywall to natural hardwood flooring and composite decking, has a specific thermal expansion coefficient and equilibrium moisture content. When indoor humidity fluctuates between seasonal extremes (dry winter heating versus humid summer air), un-acclimated materials undergo dimensional change.
For interior wood products, relative humidity must be maintained between 35 percent and 55 percent at a temperature range of 60 to 80 degrees Fahrenheit. Leaving wood flooring or cabinet components in an unheated garage or damp basement prior to installation causes warping, board cupping, and joint separation after installation.
Comprehensive Field Tool Checklist and Job Site Setup
Executing clean installation work requires assembling high-quality trade tools before beginning demolition or layout. Standard DIY toolkits often lack the precision required for tight tolerances. Invest in a 48-inch spirit level, a digital angle gauge, laser distance measure, carbide-tipped cutting blades, and heavy-duty surface protection film.
- Surface Preparation: Heavy-duty floor scrapers, self-leveling compound mixing barrels, margin trowels, and industrial shop vacuums.
- Precision Measurement: Digital calipers, laser levels, stud finders with deep scan modes, and steel framing squares.
- Cutting Equipment: Dual-bevel sliding miter saws, continuous-rim diamond wet saws, and oscillating multi-tools.
- Safety Equipment: N95 particulate respirators, ANSI-approved eye protection, and heavy-duty knee protection pads.
Building Code Compliance and Inspection Readiness
All major residential remodeling projects must comply with the International Residential Code (IRC) and local municipal amendments. Inspections typically occur at three key project stages: rough framing/structural, rough plumbing/electrical/mechanical, and final occupancy sign-off. Skipping permits or failing to schedule inspections can lead to stop-work orders, fines, or issues when selling your property.
How do I know if my project requires a building permit?
Cosmetic updates like painting, hanging curtains, or installing floating floors generally do not require permits. Structural wall removal, electrical circuit additions, plumbing line relocations, and exterior deck builds require municipal permits and inspections.
What is the best way to clean and maintain finished surfaces?
Use pH-neutral cleaners specifically formulated for your material type. Avoid harsh bleach, ammonia, or abrasive scrubbing pads on finished hardwood, natural stone tile, or acrylic bath surfaces.
Need to calculate measurements for your space?
Use our free interactive tool to calculate dimensions automatically.
Start Budgeting Now →