Choosing between solid hardwood and luxury vinyl plank (LVP) is one of the most contentious decisions in modern home improvement. Sales reps often pitch LVP as waterproof, indestructible, and half the price of wood. Hardwood purists argue that vinyl is glorified plastic that depresses home resale value. To determine which floor is truly cheaper, you must analyze a 10-year lifecycle budget that includes initial materials, trade installation, maintenance, and equity retention.
A 10-Year Financial Comparison Scenario
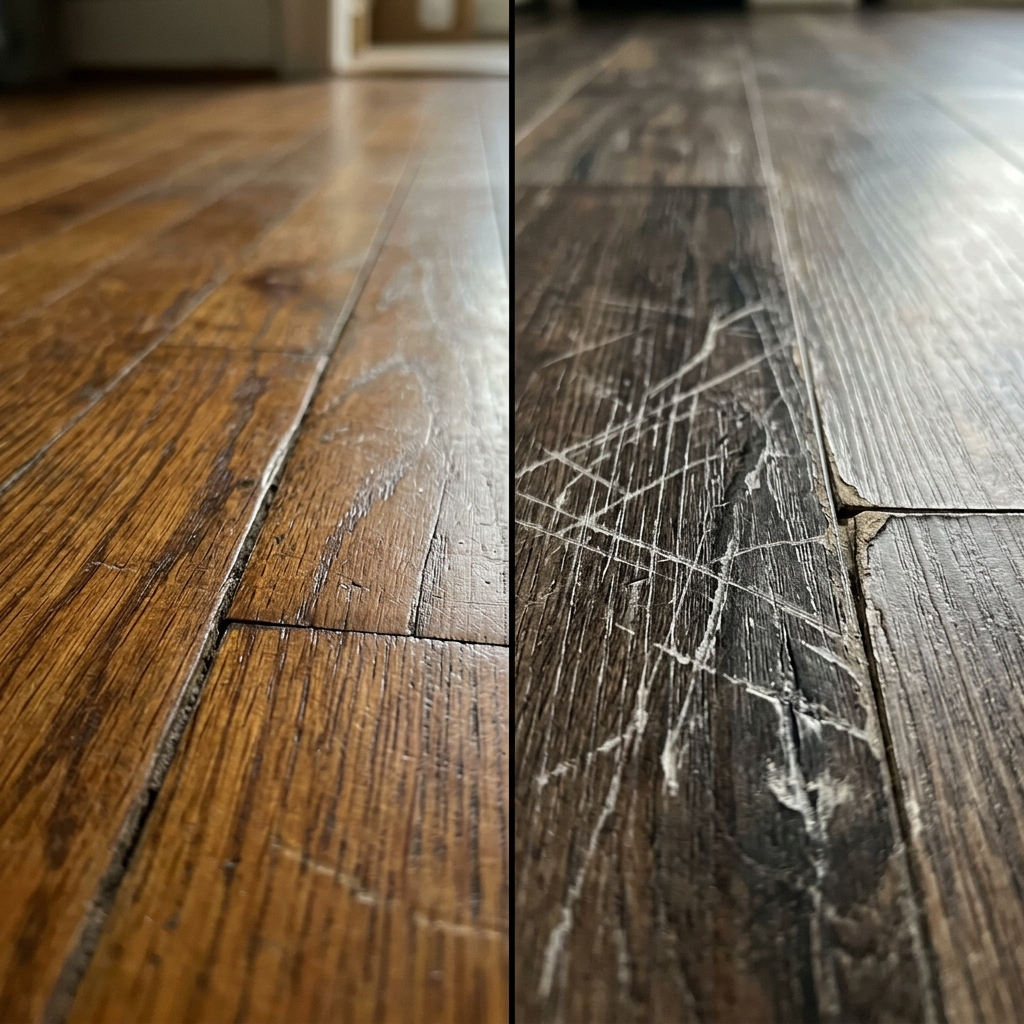
Consider a 1,500-square-foot main floor installation in a suburban home:
Hardwood Scenario: Quality 3.25-inch solid white oak materials cost $7.50 per square foot ($11,250). Professional installation, sanding, and site-finishing cost $6.50 per square foot ($9,750). Total upfront investment: $21,000. At year 7, a screen-and-recoat maintenance treatment costs $1,500. Total 10-year cash outlay: $22,500. However, real estate appraisal data indicates solid hardwood adds roughly 70 to 80 percent of its cost directly to home equity value ($15,000 equity gain). Net 10-year cost: $7,500.
LVP Scenario: Premium 20-mil wear layer click-lock LVP costs $3.50 per square foot ($5,250). Floating installation labor costs $2.50 per square foot ($3,750). Total upfront investment: $9,000. Over 10 years, zero refinishing is possible; high-traffic scratch zones require plank replacement. Total 10-year cash outlay: $9,500. Real estate data shows LVP retains minimal long-term equity value compared to real wood. Net 10-year cost: $9,500.
Durability Metrics: Wear Layers vs Sanding Capacity
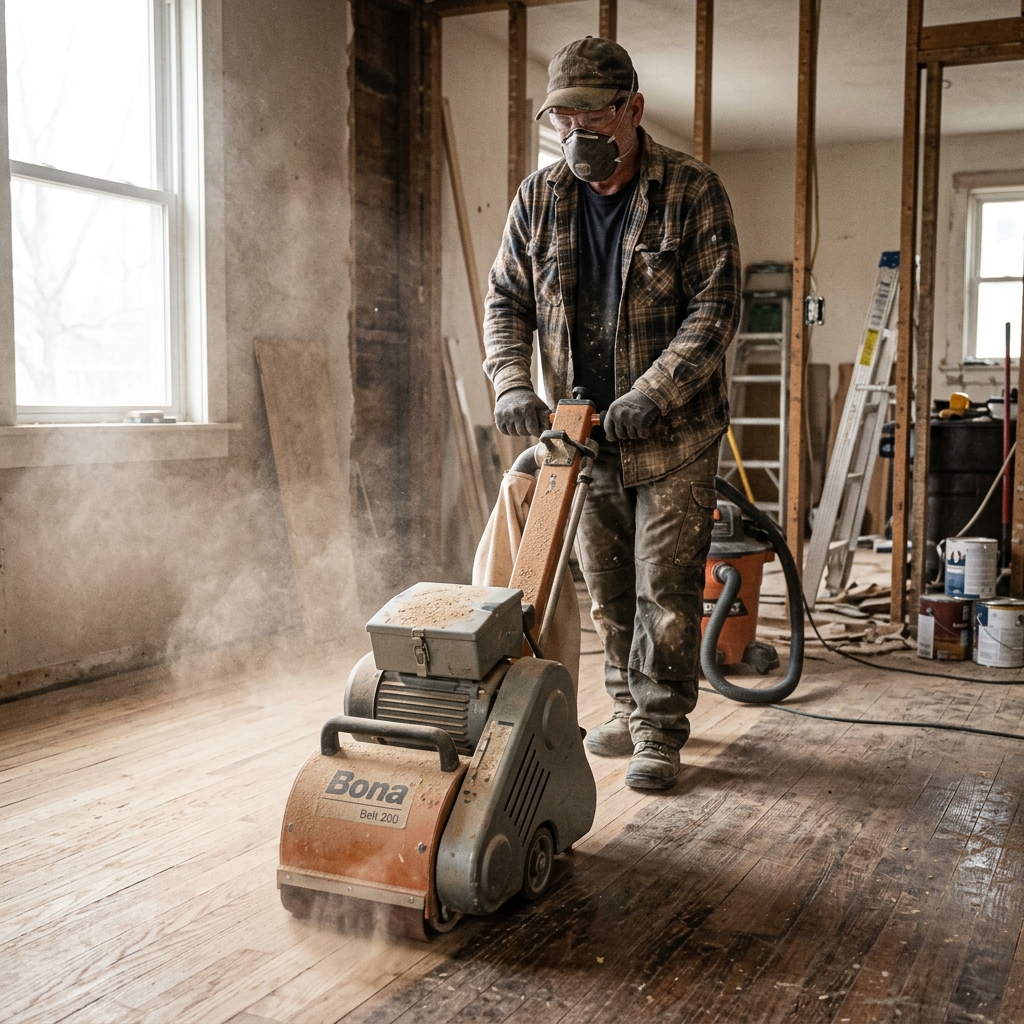
LVP durability is governed by its wear layer thickness, measured in mil (thousandths of an inch). Budget vinyl has a thin 6-mil or 12-mil wear layer suitable only for light rental use. Commercial-grade residential LVP requires a 20-mil or 28-mil wear layer with a quartz-enhanced polyurethane coating. Once deep scratches penetrate this wear layer, the plank cannot be repaired or sanded; it must be cut out and replaced.
Solid 3/4-inch hardwood features a 5/16-inch wear layer above the tongue-and-groove joint. This wood depth allows a solid floor to be fully sanded and refinished 4 to 6 times over its lifespan. A well-maintained hardwood floor routinely lasts 80 to 100 years, outliving multiple generations of vinyl flooring.
Moisture and Subfloor Preparation Factors
Where LVP indisputably wins is moisture resistance. Rigid core SPC (Stone Plastic Composite) vinyl is 100% waterproof, making it ideal for basements, laundry rooms, and powder rooms where plumbing leaks occur. Hardwood exposed to standing water cupping, warps, and requires complete tear-out.
However, floating LVP requires a remarkably flat subfloor. High spots create click-lock joint failure underfoot. Subfloor flatness tolerance for click LVP is strict: no more than 3/16 of an inch variation over 10 feet. Leveling subfloors for vinyl often requires extensive grinding and self-leveling compounds.
Step-by-Step Flooring Decision Matrix
Use this simple evaluation process to choose the right floor for your project:
- Step 1: Evaluate sub-grade moisture. Below-grade basements should always use LVP or engineered wood, never solid hardwood.
- Step 2: Calculate planned occupancy duration. If living in the home under 5 years, LVP provides lower short-term outlay. If staying 10+ years, solid hardwood delivers superior value.
- Step 3: Account for pets and active households. Large dogs with untrimmed nails scratch traditional hardwood polyurethane coatings faster than 20-mil commercial LVP.
- Step 4: Check floor height transitions. Hardwood (3/4in) creates tall transitions against tile. LVP (5mm to 8mm) sits lower.
- Step 5: Budget box waste. Order 10% extra for straight layouts, 15% for room transitions and stair steps.
Common Flooring Selection Errors
Avoid these four common mistakes when choosing between hardwood and vinyl:
- Buying cheap 6-mil LVP for high-traffic entryways: Thin wear layers scuff and peel within 24 months of heavy shoe traffic.
- Installing solid hardwood on concrete slabs: Solid wood nailed over concrete without a plywood subfloor system will buckle from vapor emissions.
- Skipping underlayment sound pads: Installing click LVP without attached acoustic foam creates a hollow plastic click-clack sound underfoot.
- Forgetting perimeter expansion gaps: Both hardwood and LVP expand with temperature shifts. Pinching planks tight against drywall causes floor tenting.
Frequently Asked Questions About Flooring Costs
Does LVP hurt home appraisal values?
In high-end luxury homes, replacing real hardwood with LVP can lower buyer interest and appraisal values. In starter homes and rental properties, fresh LVP is viewed favorably by buyers.
Can engineered hardwood be refinished?
Engineered hardwood with a real wood veneer of 3mm or thicker can be refinished 1 to 2 times. Engineered wood with thin 1mm veneers cannot be sanded.
How do I clean LVP versus real hardwood?
Clean LVP with a damp microfiber mop and pH-neutral cleaner. Clean hardwood with specialized wood cleaners like Bona; never use steam mops or excessive standing water on hardwood.
Professional Trade Best Practices and Environmental Considerations
Building codes and environmental conditions dictate how long interior materials remain functional. Environmental factors like relative humidity shifts, thermal expansion coefficient, subfloor moisture vapor emission rates, and structural deflection play massive roles in project longevity. Professional contractors always test ambient indoor air conditions using digital moisture meters and thermo-hygrometers prior to unloading finish materials on site.
Acclimation is a mandatory requirement for all wood, laminate, and luxury vinyl flooring products. Store boxed materials inside the climate-controlled installation space for a minimum of 48 to 72 hours prior to opening packages. This allows internal moisture content to balance with home HVAC operating levels, preventing post-installation board buckling or joint gaps.
Detailed Tool Checklist and Equipment Safety
Working efficiently requires gathering appropriate safety gear and specialized trade tools before starting construction. Always wear ANSI-approved eye protection, N95 dust respirators when cutting masonry or drywall, and heavy-duty knee pads during floor installations. Keep a calibrated 4-foot spirit level, laser measuring tool, steel square, and chalk line on hand for layout accuracy.
- Personal Protective Equipment: N95 respirators, hearing protection, safety glasses, cut-resistant gloves.
- Layout Tools: 4-foot spirit level, laser distance meter, framing square, blue chalk reel.
- Cutting Tools: Miter saw with carbide finish blade, oscillating multi-tool, utility knife with fresh blades.
- Surface Prep Tools: Floor scraper, margin trowel, heavy-duty mixing paddle, shop vacuum with HEPA filter.
What building codes govern residential interior renovations?
Residential renovations are governed by the International Residential Code (IRC) alongside local municipal amendments. Key code enforcement areas include structural joist span limits, stairway riser heights, egress window dimensions, and electrical GFCI/AFCI breaker requirements.
How can I check if a contractor is properly licensed and insured?
Always request a copy of the contractor’s state license number and Certificate of Insurance (COI) listing general liability and workers’ compensation coverage. Verify license standing directly on your state department of professional regulation portal.
Professional Installation Standards and Material Science
Understanding the material science behind interior building components prevents premature failure. Every building material, from ceramic tile thinset and gypsum drywall to natural hardwood flooring and composite decking, has a specific thermal expansion coefficient and equilibrium moisture content. When indoor humidity fluctuates between seasonal extremes (dry winter heating versus humid summer air), un-acclimated materials undergo dimensional change.
For interior wood products, relative humidity must be maintained between 35 percent and 55 percent at a temperature range of 60 to 80 degrees Fahrenheit. Leaving wood flooring or cabinet components in an unheated garage or damp basement prior to installation causes warping, board cupping, and joint separation after installation.
Comprehensive Field Tool Checklist and Job Site Setup
Executing clean installation work requires assembling high-quality trade tools before beginning demolition or layout. Standard DIY toolkits often lack the precision required for tight tolerances. Invest in a 48-inch spirit level, a digital angle gauge, laser distance measure, carbide-tipped cutting blades, and heavy-duty surface protection film.
- Surface Preparation: Heavy-duty floor scrapers, self-leveling compound mixing barrels, margin trowels, and industrial shop vacuums.
- Precision Measurement: Digital calipers, laser levels, stud finders with deep scan modes, and steel framing squares.
- Cutting Equipment: Dual-bevel sliding miter saws, continuous-rim diamond wet saws, and oscillating multi-tools.
- Safety Equipment: N95 particulate respirators, ANSI-approved eye protection, and heavy-duty knee protection pads.
Building Code Compliance and Inspection Readiness
All major residential remodeling projects must comply with the International Residential Code (IRC) and local municipal amendments. Inspections typically occur at three key project stages: rough framing/structural, rough plumbing/electrical/mechanical, and final occupancy sign-off. Skipping permits or failing to schedule inspections can lead to stop-work orders, fines, or issues when selling your property.
How do I know if my project requires a building permit?
Cosmetic updates like painting, hanging curtains, or installing floating floors generally do not require permits. Structural wall removal, electrical circuit additions, plumbing line relocations, and exterior deck builds require municipal permits and inspections.
What is the best way to clean and maintain finished surfaces?
Use pH-neutral cleaners specifically formulated for your material type. Avoid harsh bleach, ammonia, or abrasive scrubbing pads on finished hardwood, natural stone tile, or acrylic bath surfaces.
Need to calculate measurements for your space?
Use our free interactive tool to calculate dimensions automatically.
Calculate Flooring Costs →