Pouring a concrete patio is a race against the clock. Once a ready-mix concrete truck arrives at your driveway, you have roughly 90 minutes to unload, spread, level, float, and finish the slab before the concrete begins to set. Running short by half a cubic yard mid-pour is a nightmare scenario. The truck leaves, your first section hardens, and the short order creates a weak cold joint right across your patio. Calculating concrete volume requires factoring in true excavated depth, pitch slope, and compaction margin.
A Real Job Site Disaster: Short by 1.5 Yards
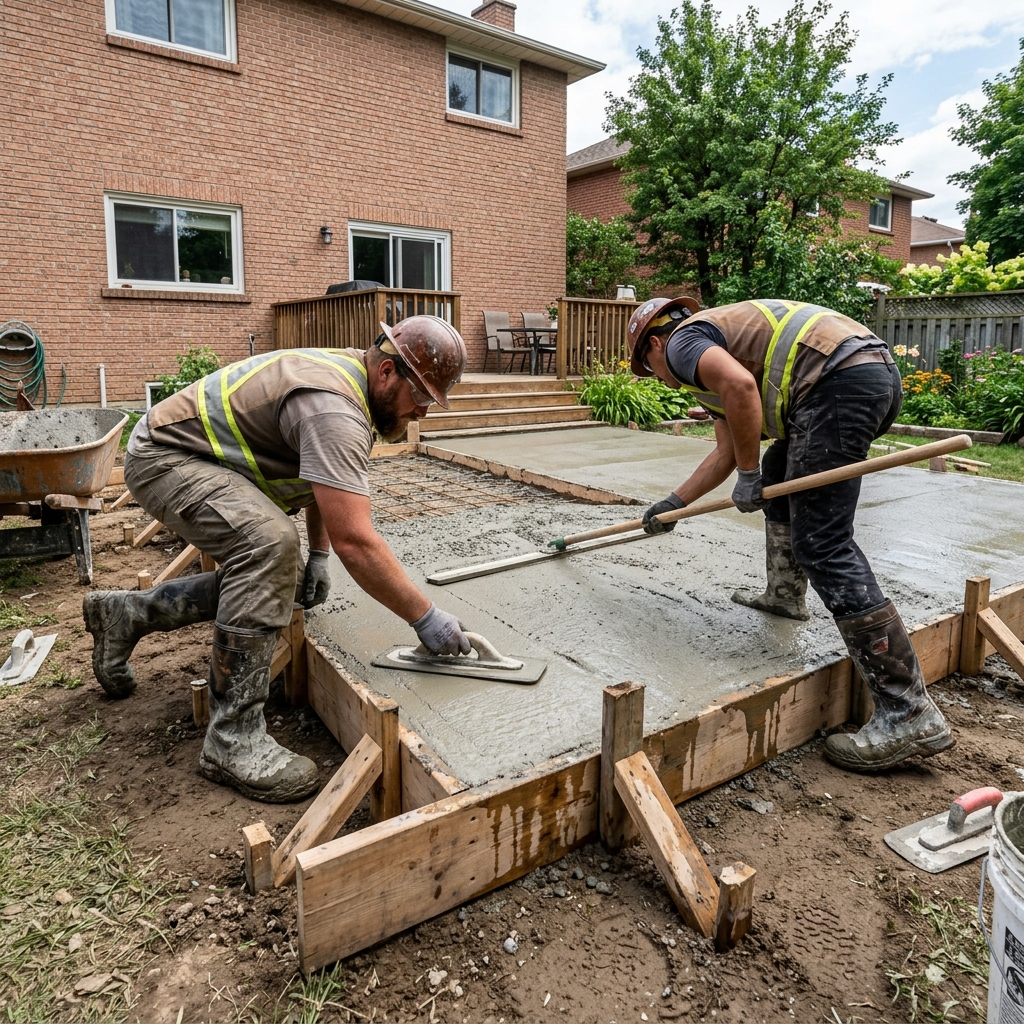
In mid-2025, a DIY homeowner in Ohio prepared a 20-by-20-foot patio form. They calculated a flat 4-inch depth (4.93 cubic yards) and ordered 5 cubic yards from the ready-mix plant. However, they forgot two critical factors: the perimeter ground dropped 2 inches across the length for drainage pitch, and the excavation crew dug the center an inch too deep. When the truck poured out its full drum, the slab was only three-quarters finished. Ordering an emergency short-load added $250 in small-load environmental fees and left a permanent color line across their patio.
The Core Concrete Calculation Formula
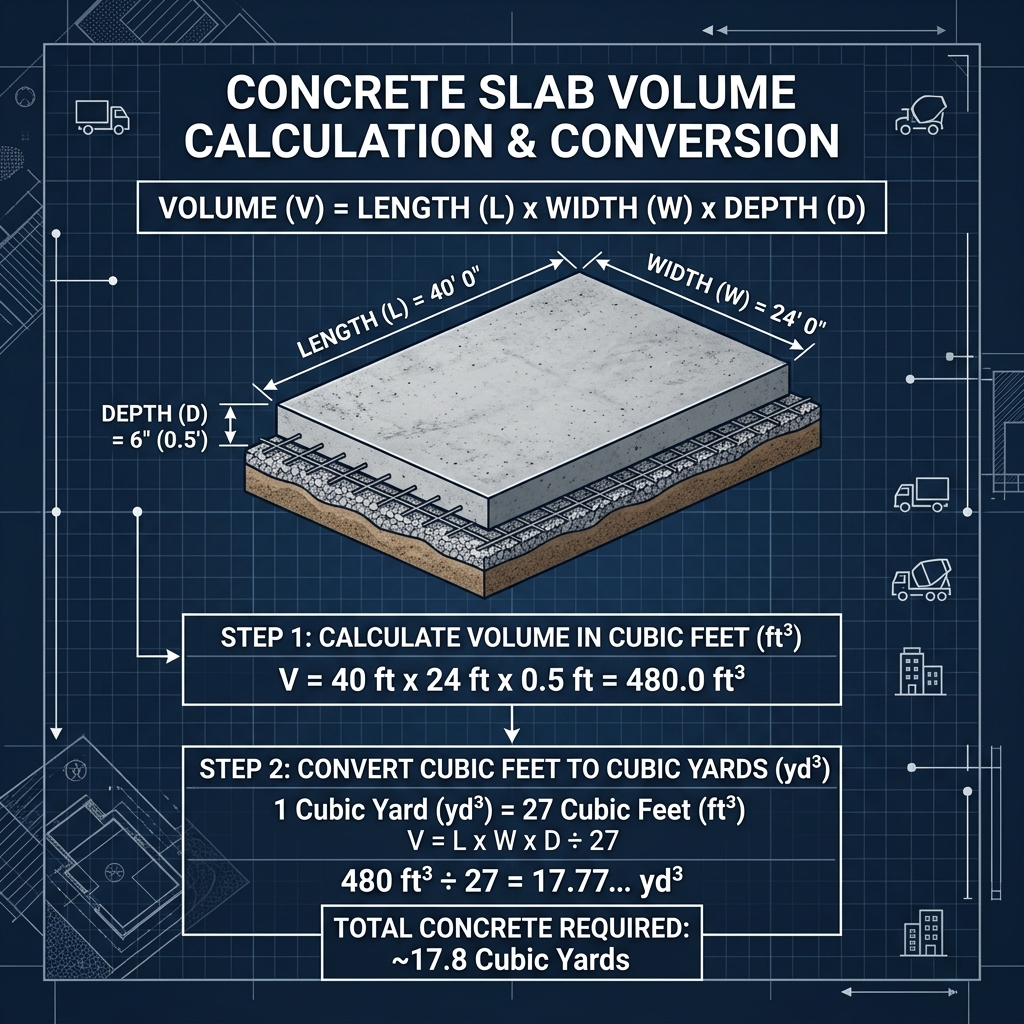
Ready-mix concrete is sold by the cubic yard (27 cubic feet). The basic volume formula is:
Cubic Yards = (Length in feet × Width in feet × Depth in feet) ÷ 27
For a standard 4-inch deep slab (which is 0.333 feet):
Cubic Yards = (Length × Width × 0.333) ÷ 27
Always convert inches to decimal feet before multiplying: 4 inches = 0.333 ft, 5 inches = 0.416 ft, 6 inches = 0.50 ft. Never multiply feet directly by inches.
Gravel Base, Pitch, and Waste Multipliers
A slab is only as stable as its base. A 4-inch thick concrete patio requires a 4-inch compacted base of crushed aggregate (3/4-minus gravel). If your sub-grade excavation is uneven by even half an inch, wet concrete fills those low spots, consuming additional volume.
Drainage pitch requires sloping the slab 1/4 inch per foot away from the house foundation. On a 20-foot patio, the far end sits 5 inches lower than the ledge. Unless the gravel sub-base is sloped to match the form top perfectly, concrete depth increases from 4 inches to 6 inches at the low end.
Always add a 10% safety margin to your calculated yardage for standard square slabs, or 15% for curved borders and footers.
Step-by-Step Concrete Estimation Guide
Follow this procedure when ordering ready-mix concrete:
- Step 1: Measure form dimensions (Length × Width in feet).
- Step 2: Measure actual form depth at 5 random internal points to find true average depth in inches.
- Step 3: Calculate base volume: (Length × Width × Average Depth in Feet) ÷ 27.
- Step 4: Calculate thickened edge footers if applicable: (Footer Width × Footer Depth × Total Perimeter) ÷ 27.
- Step 5: Add total volumes together and multiply by 1.10 (10% safety buffer). Round up to the nearest quarter-yard.
Common Concrete Pour Errors
Avoid these four common mistakes when ordering concrete:
- Ordering exact calculated volume: Never order exact theoretical yardage. Spillage, form bulge, and uneven ground absorb 5-10%.
- Forgetting rebar grid clearance: Rebar or wire mesh must be supported on 2-inch plastic chairs so reinforcement sits in the middle of the slab.
- Adding too much water on site: Adding extra water to make wet concrete easier to rake drastically lowers PSI strength and causes surface scaling.
- Skipping expansion joints: Slabs larger than 10-by-10 feet must have control joints cut every 8 to 10 feet to control shrinkage cracking.
Frequently Asked Questions About Concrete Estimates
How thick should a residential patio slab be?
A standard patio for foot traffic and outdoor furniture should be 4 inches thick. If planning for hot tubs, outdoor kitchens, or heavy vehicles, pour a 6-inch thick slab reinforced with #4 rebar.
How many bags of premixed concrete equal 1 cubic yard?
One cubic yard of concrete requires 45 bags of 80-pound premix, or 60 bags of 60-pound premix. For projects over 1 cubic yard, ordering a ready-mix delivery truck is far faster and more cost-effective.
What concrete strength (PSI) should I order?
Order a 3,000 PSI mix for basic walkways and patio slabs in warm climates. Order a 4,000 PSI air-entrained mix in cold climates subject to freeze-thaw cycles.
Professional Trade Best Practices and Environmental Considerations
Building codes and environmental conditions dictate how long interior materials remain functional. Environmental factors like relative humidity shifts, thermal expansion coefficient, subfloor moisture vapor emission rates, and structural deflection play massive roles in project longevity. Professional contractors always test ambient indoor air conditions using digital moisture meters and thermo-hygrometers prior to unloading finish materials on site.
Acclimation is a mandatory requirement for all wood, laminate, and luxury vinyl flooring products. Store boxed materials inside the climate-controlled installation space for a minimum of 48 to 72 hours prior to opening packages. This allows internal moisture content to balance with home HVAC operating levels, preventing post-installation board buckling or joint gaps.
Detailed Tool Checklist and Equipment Safety
Working efficiently requires gathering appropriate safety gear and specialized trade tools before starting construction. Always wear ANSI-approved eye protection, N95 dust respirators when cutting masonry or drywall, and heavy-duty knee pads during floor installations. Keep a calibrated 4-foot spirit level, laser measuring tool, steel square, and chalk line on hand for layout accuracy.
- Personal Protective Equipment: N95 respirators, hearing protection, safety glasses, cut-resistant gloves.
- Layout Tools: 4-foot spirit level, laser distance meter, framing square, blue chalk reel.
- Cutting Tools: Miter saw with carbide finish blade, oscillating multi-tool, utility knife with fresh blades.
- Surface Prep Tools: Floor scraper, margin trowel, heavy-duty mixing paddle, shop vacuum with HEPA filter.
What building codes govern residential interior renovations?
Residential renovations are governed by the International Residential Code (IRC) alongside local municipal amendments. Key code enforcement areas include structural joist span limits, stairway riser heights, egress window dimensions, and electrical GFCI/AFCI breaker requirements.
How can I check if a contractor is properly licensed and insured?
Always request a copy of the contractor’s state license number and Certificate of Insurance (COI) listing general liability and workers’ compensation coverage. Verify license standing directly on your state department of professional regulation portal.
Professional Installation Standards and Material Science
Understanding the material science behind interior building components prevents premature failure. Every building material, from ceramic tile thinset and gypsum drywall to natural hardwood flooring and composite decking, has a specific thermal expansion coefficient and equilibrium moisture content. When indoor humidity fluctuates between seasonal extremes (dry winter heating versus humid summer air), un-acclimated materials undergo dimensional change.
For interior wood products, relative humidity must be maintained between 35 percent and 55 percent at a temperature range of 60 to 80 degrees Fahrenheit. Leaving wood flooring or cabinet components in an unheated garage or damp basement prior to installation causes warping, board cupping, and joint separation after installation.
Comprehensive Field Tool Checklist and Job Site Setup
Executing clean installation work requires assembling high-quality trade tools before beginning demolition or layout. Standard DIY toolkits often lack the precision required for tight tolerances. Invest in a 48-inch spirit level, a digital angle gauge, laser distance measure, carbide-tipped cutting blades, and heavy-duty surface protection film.
- Surface Preparation: Heavy-duty floor scrapers, self-leveling compound mixing barrels, margin trowels, and industrial shop vacuums.
- Precision Measurement: Digital calipers, laser levels, stud finders with deep scan modes, and steel framing squares.
- Cutting Equipment: Dual-bevel sliding miter saws, continuous-rim diamond wet saws, and oscillating multi-tools.
- Safety Equipment: N95 particulate respirators, ANSI-approved eye protection, and heavy-duty knee protection pads.
Building Code Compliance and Inspection Readiness
All major residential remodeling projects must comply with the International Residential Code (IRC) and local municipal amendments. Inspections typically occur at three key project stages: rough framing/structural, rough plumbing/electrical/mechanical, and final occupancy sign-off. Skipping permits or failing to schedule inspections can lead to stop-work orders, fines, or issues when selling your property.
How do I know if my project requires a building permit?
Cosmetic updates like painting, hanging curtains, or installing floating floors generally do not require permits. Structural wall removal, electrical circuit additions, plumbing line relocations, and exterior deck builds require municipal permits and inspections.
What is the best way to clean and maintain finished surfaces?
Use pH-neutral cleaners specifically formulated for your material type. Avoid harsh bleach, ammonia, or abrasive scrubbing pads on finished hardwood, natural stone tile, or acrylic bath surfaces.
Need to calculate measurements for your space?
Use our free interactive tool to calculate dimensions automatically.
Calculate Your Base Area →