When estimating drywall for a home renovation, beginners usually calculate simple wall area: height times width minus window openings. While that formula works fine for plain square boxes, it fails completely in rooms featuring archways, barrel vaults, or curved openings. Drywall sheets are rigid 4-by-8 or 4-by-12 foot rectangles. Cutting curved arch soffits leaves large crescent-shaped offcuts that cannot be used on main walls, driving waste percentages far beyond standard allowances.
A Real Drywall Estimating Error
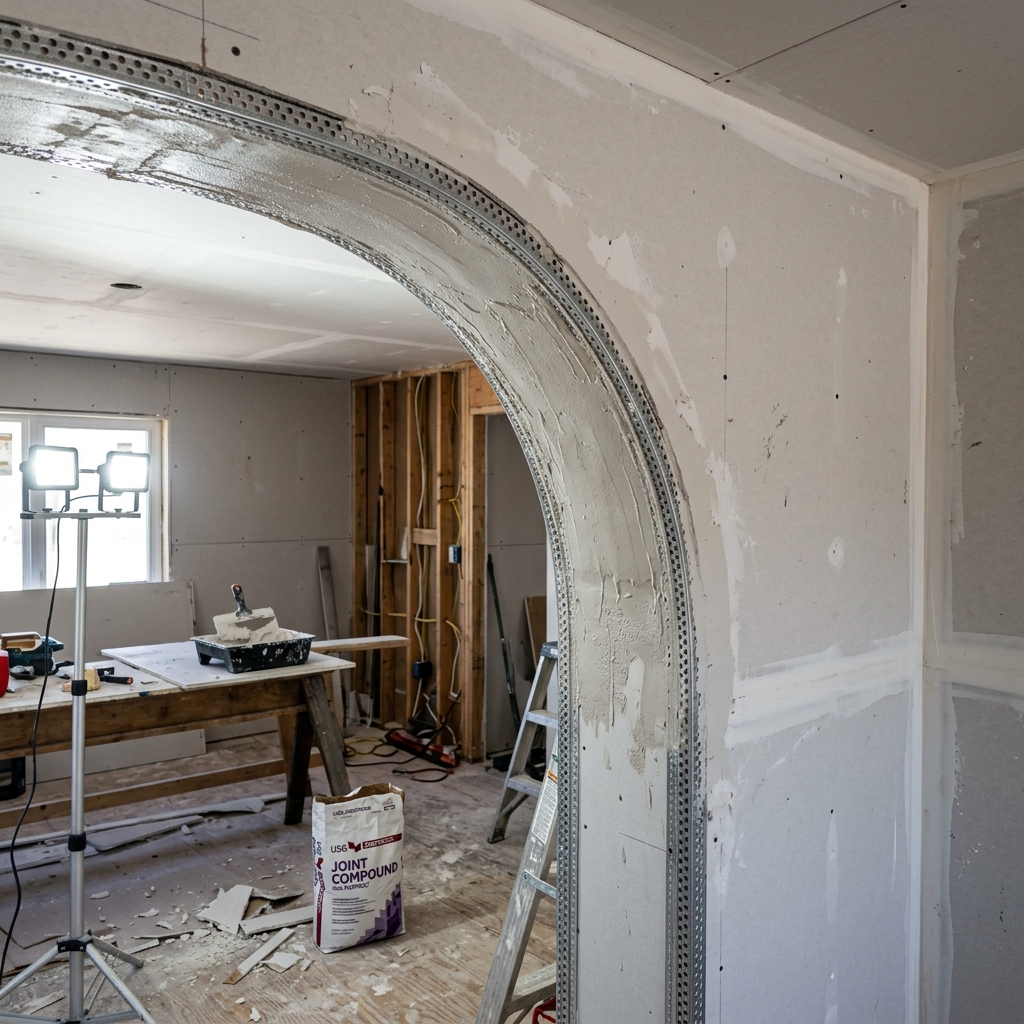
In early 2026, an owner-builder in Portland estimated a 500-square-foot living room addition featuring two 6-foot wide arched doorways. They calculated net wall area, deducted the 36-square-foot door voids, and ordered 16 sheets of 1/2-inch drywall. During installation, framing the double-sided arch faces and bending 1/4-inch flexible drywall along the barrel curves consumed 5 full sheets in scrap cuts. They ran short by 4 sheets, delaying taping and mudding crews by three days.
The Geometry of Archway Waste
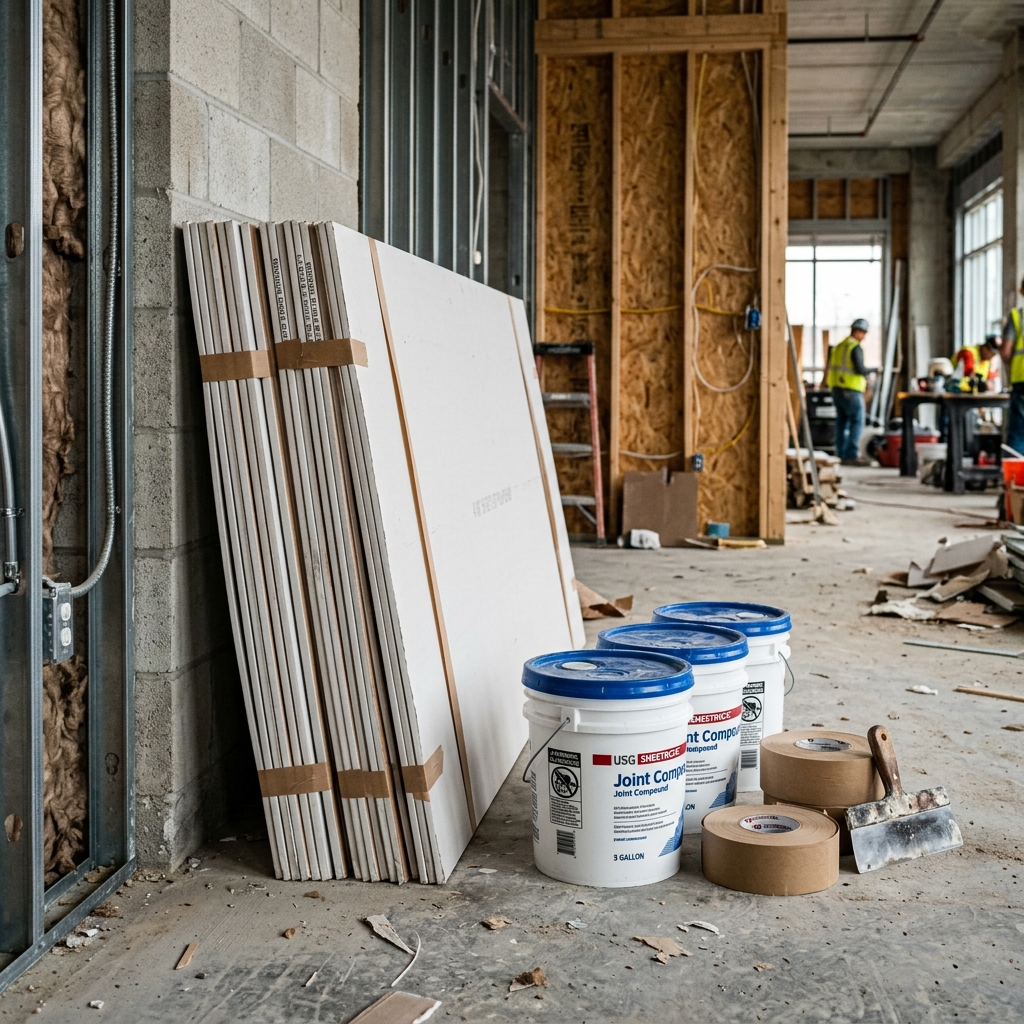
To frame a smooth arch face, drywall installers take a full 4-by-8 foot sheet, draw the radius curve with a compass trammel arm, and cut out the arch profile. The crescent piece removed from beneath the arch is scrap. Furthermore, trade standards prohibit putting joint seams at the spring-line corners of an arch because structural house settling causes diagonal drywall cracks there. Installers must notch solid sheets around the arch corners.
For the curved underside (the soffit), standard 1/2-inch drywall will snap if bent to tight radii. Installers use 1/4-inch ‘flex-rock’ drywall, often double-layered for strength. This requires purchasing separate 1/4-inch sheets specifically for curved soffits.
Calculating Joint Compound and Corner Bead
Archways also consume significantly more finishing materials than flat walls:
Flexible Corner Bead: Standard rigid metal corner bead cannot bend around curves. You must buy vinyl archway corner bead, which features notched legs that flex along radiuses. Budget 1.2 feet of flex bead per linear foot of arch curve.
Joint Compound (Mud): Finishing curved corner bead requires three generous coats of lightweight joint compound feathered out 12 inches on both sides. A room with two archways requires an extra 4.5-gallon bucket of joint compound compared to flat walls.
Step-by-Step Archway Drywall Calculation
Follow this procedure to accurately estimate drywall for spaces with archways:
- Step 1: Calculate main flat wall area without deducting archway openings under 50 square feet.
- Step 2: Calculate arch soffit area: Multiply arch barrel depth (wall thickness) by arc length (Arc Length = 1.57 × Arch Width for semi-circular arches).
- Step 3: Add dedicated 1/4-inch flex drywall sheets for soffit curves.
- Step 4: Calculate flexible vinyl corner bead: Arc Length × 2 (for both sides of wall).
- Step 5: Apply a 20% waste factor to total sheet count for rooms with arches.
Common Archway Drywall Mistakes
Avoid these four common mistakes when drywalling arched openings:
- Placing seams at arch corners: Seaming drywall at the top corner of an arch causes joint cracking within months. Always notch solid sheets over corners.
- Bending dry 1/2-inch drywall: Forcing standard 1/2-inch board along tight curves snaps the core. Use 1/4-inch flex board or wet the back of 3/8-inch board with a spray bottle.
- Using rigid metal bead on curves: Metal corner bead kinks when bent. Always use slotted vinyl arch bead for smooth curves.
- Fastening screws too close to arch edges: Driving drywall screws within 1 inch of a cut arch edge blows out the gypsum core. Keep fasteners 1.5 inches back.
Frequently Asked Questions About Drywall Arch Estimates
How many sheets of drywall do I need for a 12×12 room with an arch?
A standard 12-by-12 foot room with 8-foot ceilings takes roughly 14 sheets of 4×8 drywall. Adding an archway requires 2 additional 1/2-inch sheets for notched face cuts plus 1 sheet of 1/4-inch flex board for the soffit (17 sheets total).
What is the best way to curve drywall soffits?
Use 1/4-inch flexible drywall installed perpendicular to framing studs. For tight radii under 3 feet, wet the back paper lightly with a sponge 20 minutes before bending.
How much joint compound do I need per sheet of drywall?
Budget approximately 1 gallon of joint compound per 100 square feet (or roughly 0.3 gallons per 4×8 sheet), plus 20% extra for rooms with arched corner beads.
Professional Trade Best Practices and Environmental Considerations
Building codes and environmental conditions dictate how long interior materials remain functional. Environmental factors like relative humidity shifts, thermal expansion coefficient, subfloor moisture vapor emission rates, and structural deflection play massive roles in project longevity. Professional contractors always test ambient indoor air conditions using digital moisture meters and thermo-hygrometers prior to unloading finish materials on site.
Acclimation is a mandatory requirement for all wood, laminate, and luxury vinyl flooring products. Store boxed materials inside the climate-controlled installation space for a minimum of 48 to 72 hours prior to opening packages. This allows internal moisture content to balance with home HVAC operating levels, preventing post-installation board buckling or joint gaps.
Detailed Tool Checklist and Equipment Safety
Working efficiently requires gathering appropriate safety gear and specialized trade tools before starting construction. Always wear ANSI-approved eye protection, N95 dust respirators when cutting masonry or drywall, and heavy-duty knee pads during floor installations. Keep a calibrated 4-foot spirit level, laser measuring tool, steel square, and chalk line on hand for layout accuracy.
- Personal Protective Equipment: N95 respirators, hearing protection, safety glasses, cut-resistant gloves.
- Layout Tools: 4-foot spirit level, laser distance meter, framing square, blue chalk reel.
- Cutting Tools: Miter saw with carbide finish blade, oscillating multi-tool, utility knife with fresh blades.
- Surface Prep Tools: Floor scraper, margin trowel, heavy-duty mixing paddle, shop vacuum with HEPA filter.
What building codes govern residential interior renovations?
Residential renovations are governed by the International Residential Code (IRC) alongside local municipal amendments. Key code enforcement areas include structural joist span limits, stairway riser heights, egress window dimensions, and electrical GFCI/AFCI breaker requirements.
How can I check if a contractor is properly licensed and insured?
Always request a copy of the contractor’s state license number and Certificate of Insurance (COI) listing general liability and workers’ compensation coverage. Verify license standing directly on your state department of professional regulation portal.
Professional Installation Standards and Material Science
Understanding the material science behind interior building components prevents premature failure. Every building material, from ceramic tile thinset and gypsum drywall to natural hardwood flooring and composite decking, has a specific thermal expansion coefficient and equilibrium moisture content. When indoor humidity fluctuates between seasonal extremes (dry winter heating versus humid summer air), un-acclimated materials undergo dimensional change.
For interior wood products, relative humidity must be maintained between 35 percent and 55 percent at a temperature range of 60 to 80 degrees Fahrenheit. Leaving wood flooring or cabinet components in an unheated garage or damp basement prior to installation causes warping, board cupping, and joint separation after installation.
Comprehensive Field Tool Checklist and Job Site Setup
Executing clean installation work requires assembling high-quality trade tools before beginning demolition or layout. Standard DIY toolkits often lack the precision required for tight tolerances. Invest in a 48-inch spirit level, a digital angle gauge, laser distance measure, carbide-tipped cutting blades, and heavy-duty surface protection film.
- Surface Preparation: Heavy-duty floor scrapers, self-leveling compound mixing barrels, margin trowels, and industrial shop vacuums.
- Precision Measurement: Digital calipers, laser levels, stud finders with deep scan modes, and steel framing squares.
- Cutting Equipment: Dual-bevel sliding miter saws, continuous-rim diamond wet saws, and oscillating multi-tools.
- Safety Equipment: N95 particulate respirators, ANSI-approved eye protection, and heavy-duty knee protection pads.
Building Code Compliance and Inspection Readiness
All major residential remodeling projects must comply with the International Residential Code (IRC) and local municipal amendments. Inspections typically occur at three key project stages: rough framing/structural, rough plumbing/electrical/mechanical, and final occupancy sign-off. Skipping permits or failing to schedule inspections can lead to stop-work orders, fines, or issues when selling your property.
How do I know if my project requires a building permit?
Cosmetic updates like painting, hanging curtains, or installing floating floors generally do not require permits. Structural wall removal, electrical circuit additions, plumbing line relocations, and exterior deck builds require municipal permits and inspections.
What is the best way to clean and maintain finished surfaces?
Use pH-neutral cleaners specifically formulated for your material type. Avoid harsh bleach, ammonia, or abrasive scrubbing pads on finished hardwood, natural stone tile, or acrylic bath surfaces.
Need to calculate measurements for your space?
Use our free interactive tool to calculate dimensions automatically.
Calculate Your Materials →