Halloween decorating shouldn’t require a second mortgage. And yet, every October, we walk into those fancy home decor stores and stare longingly at $60 skeleton lanterns like they’re works of art. Spoiler: they are not worth it. With a little creativity and a Dollar Tree haul, you can create Halloween decor that looks just as good, sometimes even better, for a fraction of the cost.
These 17 DIY Dollar Tree Halloween decor ideas prove that budget-friendly doesn’t mean cheap-looking. Whether you’re a crafting newbie or a seasoned DIY obsessive, every single one of these projects is doable, affordable, and genuinely impressive.
1. Apothecary jar Halloween display

Dollar Tree sells glass jars in all shapes and sizes, and they work perfectly for creating a gothic apothecary aesthetic. Fill them with fake spiders, plastic eyeballs, black sand, or even crumpled black tissue paper for a smoky fog effect. Add printed labels like “Witches Brew” or “Bat Wings” using free printable templates from sites like FreePrintable.net.
Group three or five jars together on a mantel or shelf for a curated, collected look. Odd numbers always look more intentional. That’s a little interior design secret most designers keep to themselves. Spray the lids with black or gold metallic paint to pull the whole setup together.
This project costs under $5 total and looks like something out of a Pottery Barn Halloween catalog.
2. Floating witch hat chandelier
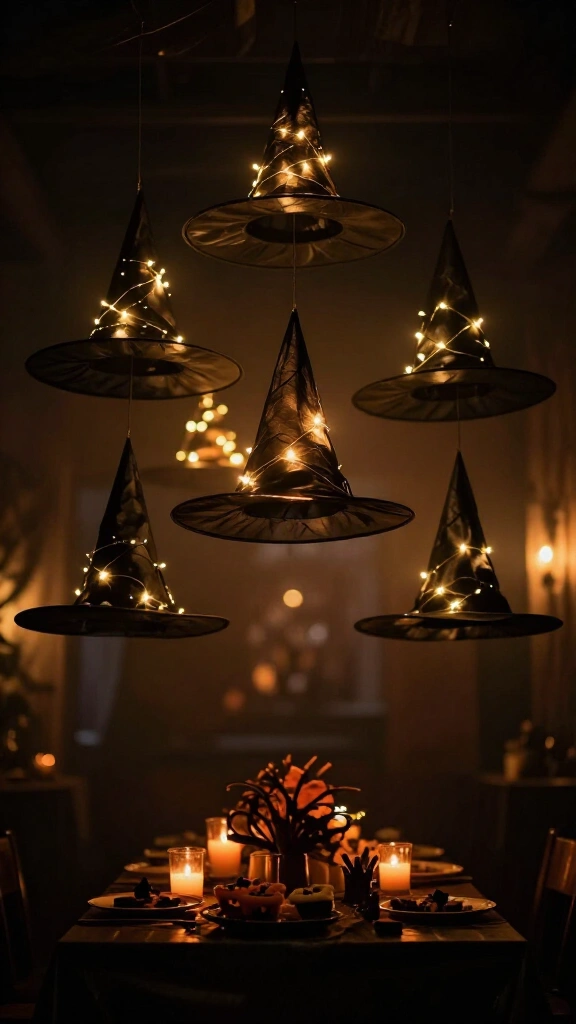
Buy a pack of Dollar Tree witch hats and hang them from your ceiling at varying heights using fishing line. The floating, suspended effect is genuinely magical and looks like you spent way more time and money than you did. Add battery-operated fairy lights inside each hat for a glowing, ethereal feel at night.
This works beautifully over a dining table, in an entryway, or above a Halloween party dessert table. The fishing line is what sells it. Every guest will stop and ask how those hats are floating. Trust me on this one.
3. Skull candleholder centerpiece

Dollar Tree plastic skulls get a serious makeover when you spray paint them matte black, antique gold, or dusty white. Nestle battery-operated tea lights inside or around them for a moody, candlelit centerpiece that feels straight out of a high-end Halloween tablescape.
Cluster several skulls together on a wooden tray (also from Dollar Tree) with some dried florals or faux black roses. The mix of textures, matte skulls against soft florals on rustic wood, creates a layered, sophisticated look that photographs beautifully. This is one of the most pinned Halloween centerpiece styles on Pinterest, and for good reason.
4. Black lace pumpkin wraps
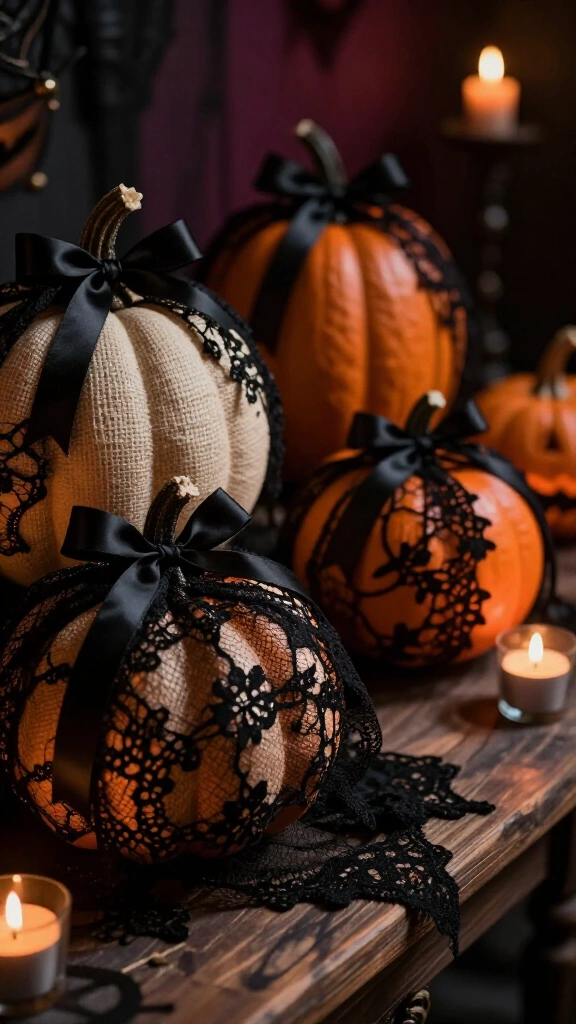
Dollar Tree sells lace fabric by the yard during Halloween season, and wrapping it around plain foam or plastic pumpkins creates an instantly elegant, gothic look. Secure the lace with a glue gun or black ribbon tied in a bow at the stem. The contrast between the lace texture and the solid pumpkin shape is genuinely striking.
You can also layer different textures. Try burlap underneath and lace on top for a more dimensional effect. This is one of those projects that looks like it requires serious skill but takes 10 minutes at most. Mix black, white, and deep purple lace for a dramatic, curated vignette.
5. Dollar Tree wreath with a dark floral twist
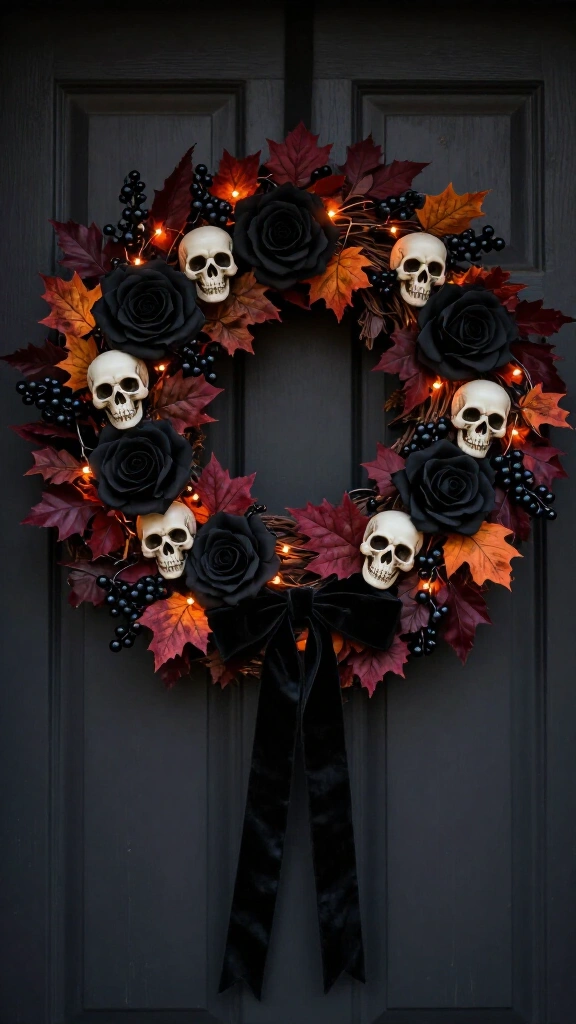
Grab a plain grapevine or foam wreath from Dollar Tree and go to town with dark, moody florals. Think black roses, burgundy leaves, dark berries, and tiny skull picks, all available at Dollar Tree during Halloween season. The trick is to layer and overlap the elements rather than placing them evenly, which creates that expensive, lush “just gathered from a dark garden” look.
Add a black velvet ribbon bow at the bottom and weave a thin strand of orange fairy lights through the whole thing for nighttime drama. This style of wreath sells for $80 to $100 in boutique shops. You’re making it for about $8.
If you love a more polished Halloween style, check out these elegant Halloween decor ideas for a sophisticated home for even more inspiration.
6. Spooky silhouette window art
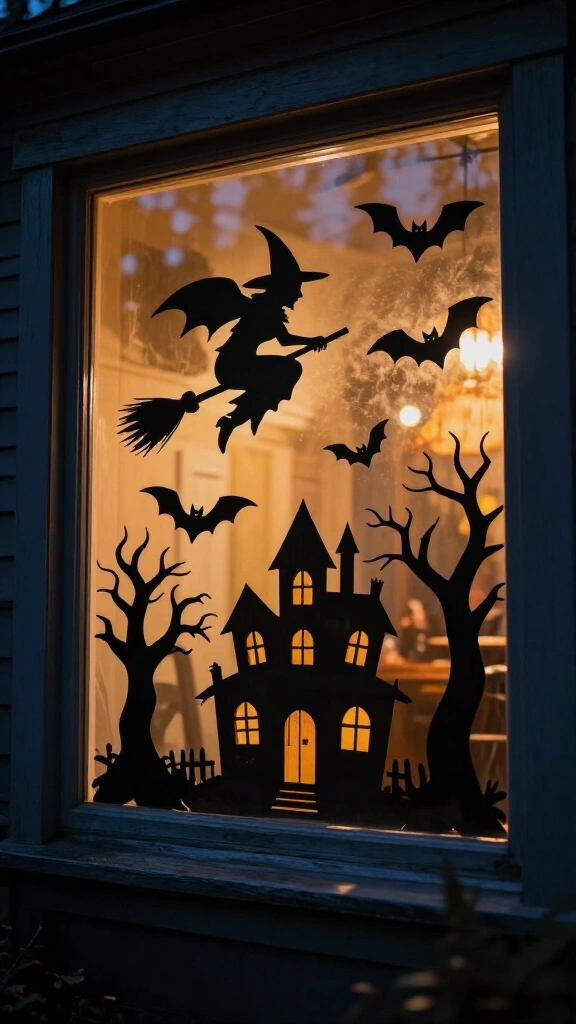
Use black construction paper or black Dollar Tree foam sheets to cut out classic Halloween silhouettes: flying bats, haunted houses, bare twisted trees, witches on broomsticks. Tape these inside your window so they’re backlit by daylight during the day and interior light at night. The effect is genuinely cinematic.
You don’t need to be an artist. Free silhouette templates are everywhere online. Freepik.com has hundreds of printable Halloween silhouettes you can trace and cut. This project costs almost nothing and delivers maximum visual impact from the street.
7. Painted terracotta pot cauldrons
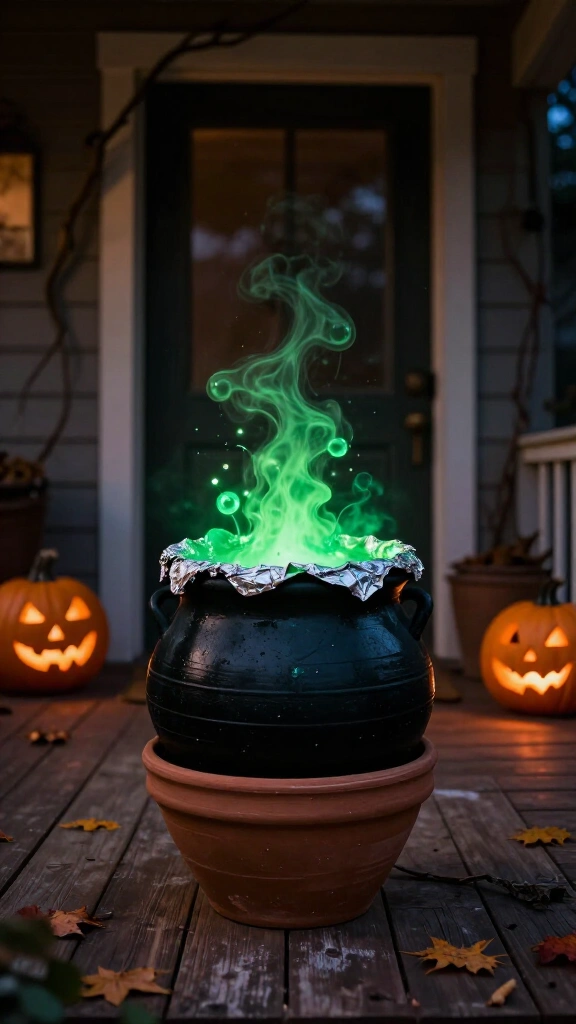
Flip Dollar Tree terracotta pots upside down, paint them matte black, and add some fake bubbling cauldron effects using spray-on texture paint or crumpled aluminum foil painted green to look like potion bubbles. Stack two pots of different sizes together for a layered cauldron effect that looks genuinely whimsical.
Fill the interior with battery-powered green fairy lights to mimic a glowing potion. This one works especially well on front porches flanking a doorway. It’s charming, unexpected, and costs about $3 to make.
8. Gothic candelabra from Dollar Tree candlesticks

Buy three to five Dollar Tree plastic candlesticks in varying heights and spray paint them all the same matte black or antique bronze shade. Arrange them on a tray or mantel with battery-operated taper candles (also from Dollar Tree) for a gothic candelabra look that screams expensive haunted manor.
Add drips of hot glue painted white to simulate melted wax, a classic trick that looks incredibly realistic. Scatter some black fabric or gauze around the base and toss in a few mini skulls. This entire setup runs under $10 and looks like a $150 HomeGoods display.
9. Spiderweb mason jar lanterns
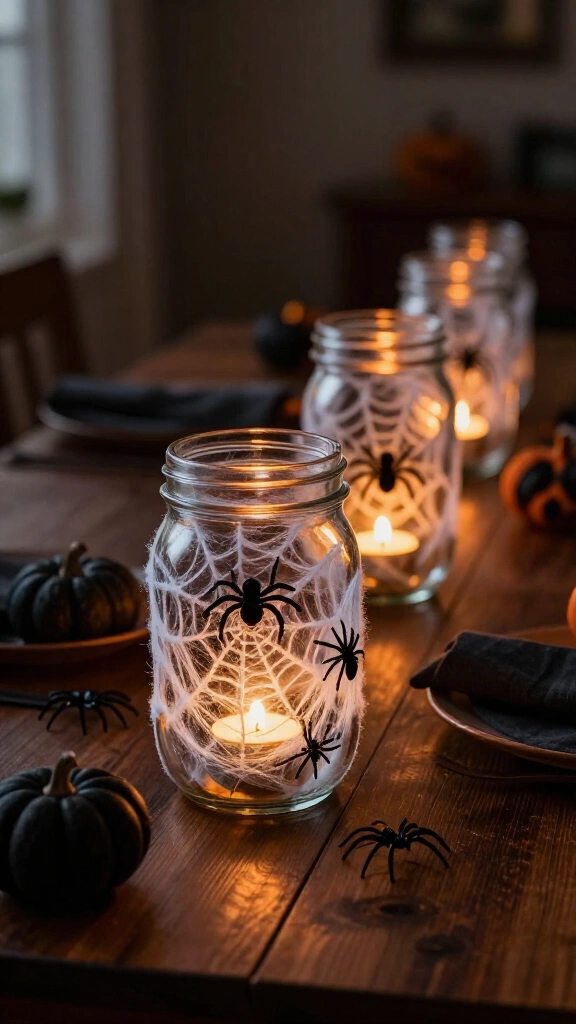
Dollar Tree mason jars plus a bag of stretchy fake spiderweb plus battery-operated tea lights equals one of the easiest and most effective Halloween lantern DIYs you’ll ever make. Wrap the web around the jar exterior, tuck a plastic spider into the web, drop in the light, and you’re done. Each jar takes about three minutes.
Line these along a front walkway, a windowsill, or down the center of a dining table for a cohesive, intentional look. Making six or eight in one sitting turns this into a seriously impactful display. The glow through the spiderweb at night is perfectly spooky.
10. Haunted portrait gallery wall

This one delivers impressive results for very little money. Print free “haunted portrait” images, think Victorian-era people with glowing red eyes or ghostly overlays, and frame them in Dollar Tree black frames. Hang them in a gallery wall arrangement with slightly crooked angles for that eerie, unsettled feeling.
Sites like Canva.com let you create custom haunted portraits using old-looking filters and text. Add a flickering LED candle sconce between frames for serious haunted mansion energy. This project reliably stops guests in their tracks.
11. Mummy vase arrangement

Wrap Dollar Tree vases, bottles, or even toilet paper rolls in white gauze or medical wrap from the first aid section. Add two googly eyes near the top and you have the most charming mummy vase imaginable. Fill with black-dipped artificial flowers or bare twigs for a complete look.
These work at every scale. Tiny ones fit perfectly on a bathroom counter, while larger ones make statement pieces on a console table. Make an entire family of mummy vases in different sizes for a cohesive grouping. For more ideas in this spirit, browse these cute Halloween decor ideas for a cozy, spooky aesthetic.
12. DIY witch’s broom bundle
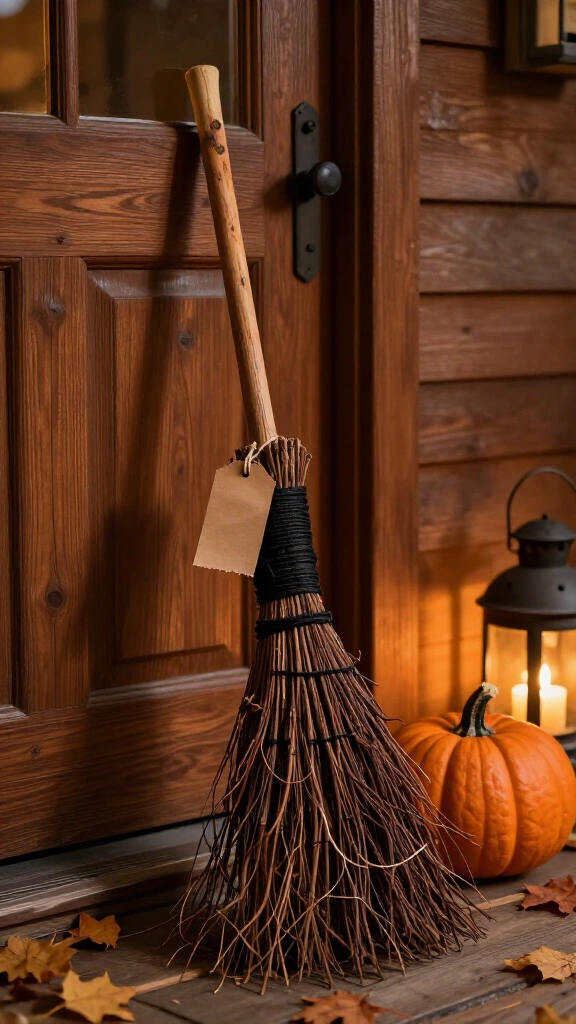
Dollar Tree sells craft sticks and raffia twine. Grab both and bundle them into a rustic witch’s broom that looks like it came straight from a farmhouse Halloween shop. Tie the bundle tight with black or orange twine and lean it against a front door or fireplace for an instantly seasonal feel.
Add a small tag that reads “Witches Parking Only” using kraft paper and a black marker for a touch of Halloween humor. Layer it with a pumpkin and a small lantern for a complete vignette. Simple, fast, and undeniably charming.
13. Chalkboard sign Halloween art

Dollar Tree carries mini chalkboards that work perfectly for writing spooky quotes, welcome messages, or Halloween countdowns. Use chalk markers for crisp, clean lettering that doesn’t smudge. Phrases like “Beware All Who Enter,” “Haunted House,” or “Eat, Drink, and Be Scary” land differently when written in pretty lettering on a dark chalkboard.
If your handwriting isn’t exactly calligraphy-level (no judgment, mine isn’t either), print a template, trace it with chalk on the back, and transfer it to the board. Prop it on a small easel, also from Dollar Tree, for display. Easy, customizable, and reusable every year.
14. Black cat shadowbox display
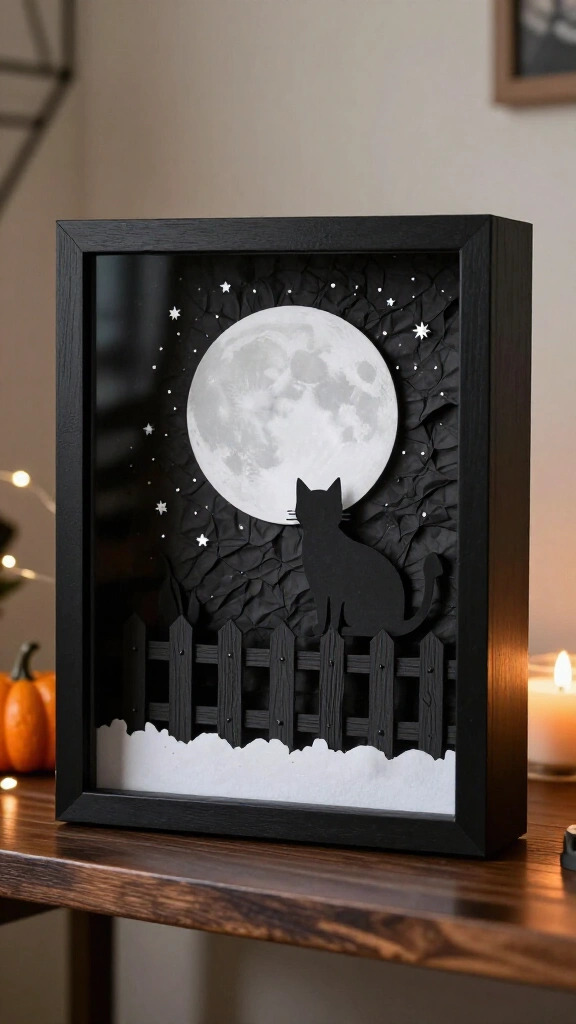
Use a Dollar Tree shadow box frame and build a layered Halloween scene inside using paper cutouts, fabric scraps, and tiny Dollar Tree figurines. A black cat silhouette on a fence under a full moon creates a classic, nostalgic Halloween image that looks genuinely artistic when framed and displayed.
Use crinkled black tissue paper as a background sky, a strip of white foam as the ground, and cut paper shapes for the fence and moon. Add a star sticker or two. The layered depth inside the shadowbox produces a 3D effect that looks polished and intentional.
15. Glam glitter pumpkins

Take plain Dollar Tree foam pumpkins, coat them in Mod Podge, and cover them in black, gold, or deep purple glitter for a dramatic, upscale Halloween look. These are the pumpkins that look like they belong in a glam Halloween editorial shoot, not a bargain bin.
Mixing glitter finishes, chunky on one and fine on another, adds texture variation when you group them together. Stack them at different heights using small risers or books for a display that looks genuinely styled. Check out these indoor Halloween decor ideas that look high-end without spending a fortune to style your pumpkin display even further.
16. Creepy cloth draped furniture
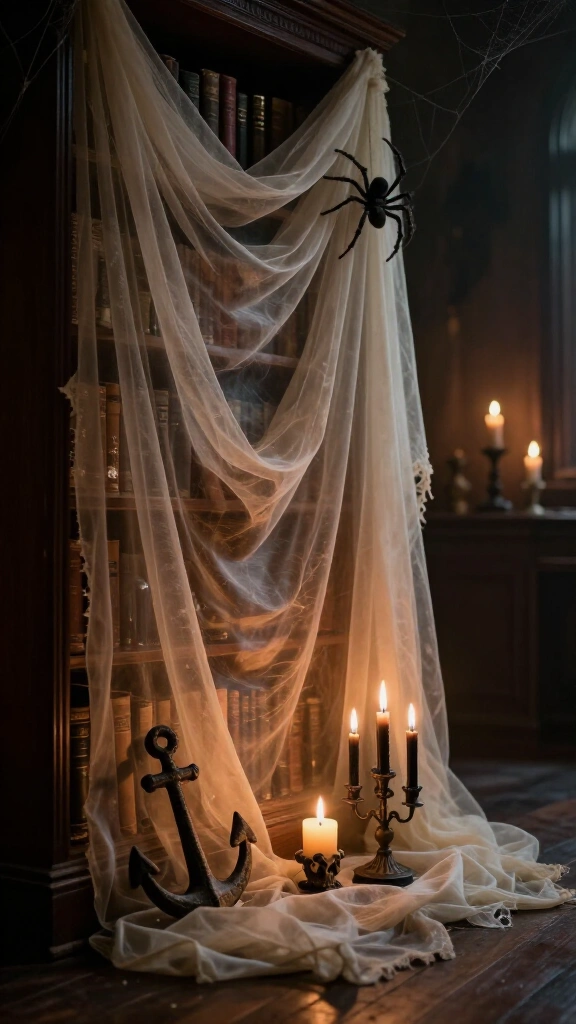
Dollar Tree sells Halloween gauze and cheesecloth by the pack. Draping this over furniture, lamps, or even a full corner of a room creates an instant haunted house effect that’s surprisingly sophisticated when you do it with intention. The approach that doesn’t work: throwing it everywhere randomly. Drape it with purpose and anchor it with a spider, candle, or skull.
Layer it over a bookshelf partially, leaving some books and objects peeking through, for a “long-abandoned library” look that feels genuinely set-designed. This is one of those Dollar Tree Halloween hacks that experienced crafters and party stylists reach for regularly. According to Better Homes and Gardens, layering textures ranks among the top tricks for creating high-end seasonal decor on a budget.
17. Halloween terrarium with mini graveyard scene
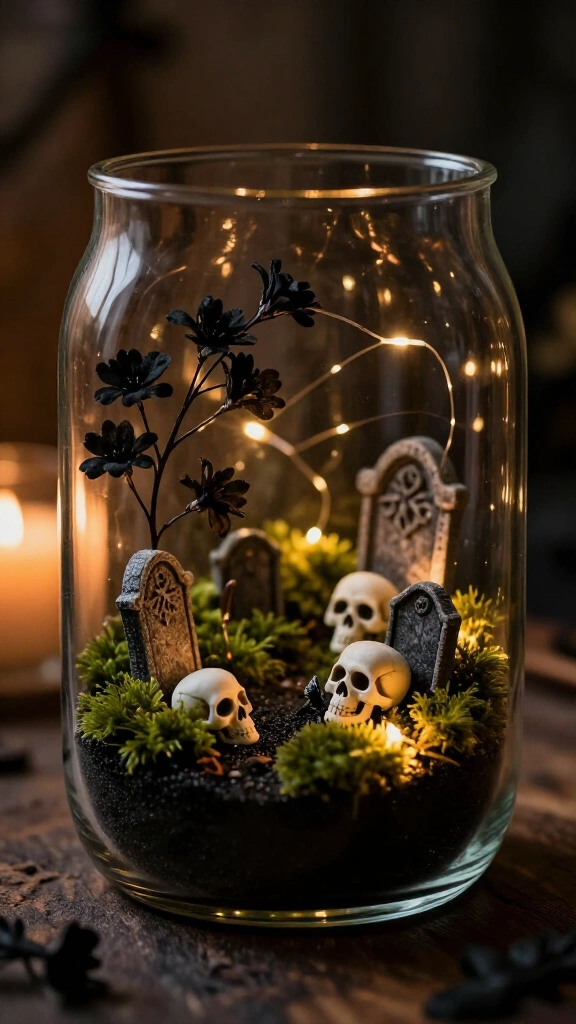
Use a Dollar Tree glass bowl or hurricane vase to build a miniature Halloween terrarium scene complete with fake moss, tiny tombstones, mini skulls, and a sprig of dried black flowers. This project looks genuinely intricate but really just requires assembly. No serious crafting skill needed.
Layer dark soil or black sand at the bottom, add moss patches, then position your mini elements like you’re staging a tiny haunted graveyard. Drop in a battery-powered fairy light strand and watch it come alive at night. This makes an incredible centerpiece, a mantel accent, or even a thoughtful Halloween gift for a friend who appreciates something a little more unusual.
Final thoughts: spooky doesn’t have to be spendy
Here’s the thing about DIY Dollar Tree Halloween decor: it pushes you to be creative in ways that expensive pre-made decor simply doesn’t. When you start with a $1 item, you have to think about texture, color, arrangement, and layering. That creative thinking is exactly what produces the most memorable, high-end-looking results.
The biggest takeaways from this list:
- Spray paint is your best friend. It transforms plastic into something that looks like ceramic, metal, or stone.
- Grouping items in odd numbers always looks more intentional and styled.
- Battery-powered LED lights are the secret weapon of every great Halloween vignette.
- Mixing textures, matte with shiny, soft with hard, creates depth and visual interest.
- Labels and typography add a personalized, intentional touch that lifts any display.
You don’t need to tackle all 17 projects. Pick three to five that match your space and style, do them really well, and your home will look like you hired a Halloween decorator. Now go raid that Dollar Tree and get crafting. Your spooky season is waiting.