Halloween decorating doesn’t have to drain your bank account. Some of the most jaw-dropping, “wait, you made THAT?” decorations come straight from the dollar store. With a little creativity, some spray paint, and maybe a hot glue gun, you can transform $1 to $3 items into decor that looks like it belongs in a high-end Halloween boutique.
Whether you’re a seasoned crafter or a total beginner, these 19 dollar store Halloween DIY projects will have your guests and your neighbors completely fooled. Ready to haunt on a budget?
1. Gilded skull centerpiece

Grab a pack of plastic skulls from the dollar store and give them a metallic gold or silver spray paint makeover. Arrange them on a bed of black moss or dark dried leaves inside a thrifted tray or bowl. The result is a dramatic, designer-worthy centerpiece that looks like it cost $50 or more.
The secret is in the finish. Use a two-tone approach: base coat in matte black, then lightly dust with gold for that expensive antique look. Nobody needs to know it started life as a $1 party favor. Add a few pillar candles around the arrangement and you’ve got yourself a seriously moody vignette.
2. Apothecary jar display

Dollar store glass vases and mason jars transform into gorgeous apothecary-style displays with almost zero effort. Fill them with plastic eyeballs, fake bugs, black sand, or colored water with a few drops of food dye. Slap on a handwritten or printed label like “Eye of Newt” or “Witch’s Brew” and you’ve got a moody, potion-room aesthetic going strong.
Arrange three jars in varying heights on your Halloween kitchen decor counter for maximum impact. Taller arrangements automatically read as more expensive and intentional. It’s one of those styling tricks interior designers use that nobody talks about enough.
3. Foam tombstone cemetery
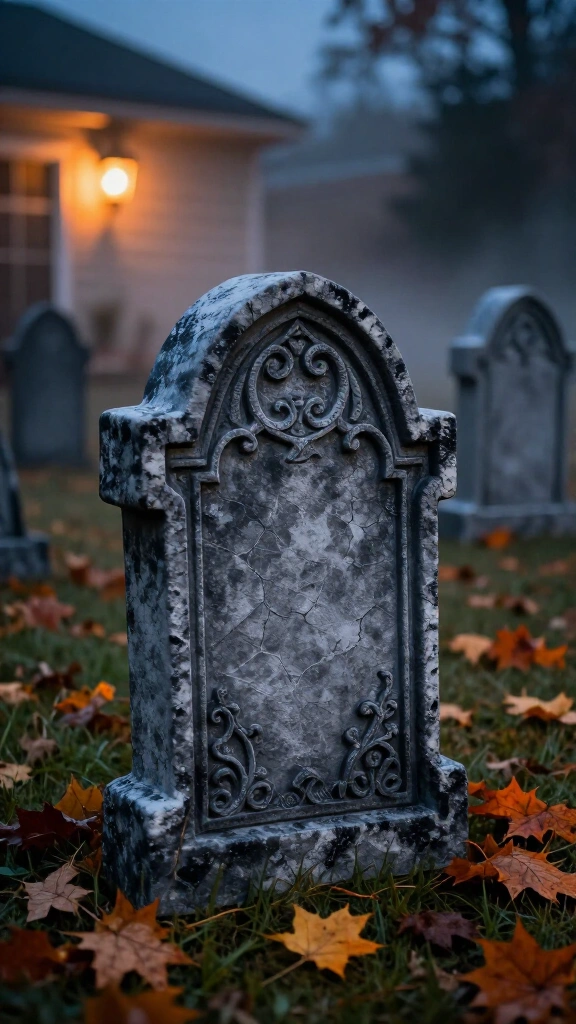
Dollar store foam boards are a crafter’s best-kept secret. Cut them into tombstone shapes, carve in epitaphs with a ballpoint pen (the pressure creates perfect grooves), and paint them with a gray stone-effect technique using craft paint and a sponge. A little black around the edges mimics years of grim weathering perfectly.
Stick them in your yard or arrange them on a porch for an instant haunted cemetery vibe. For more outdoor graveyard inspiration, check out these 27 DIY Halloween decorations outdoor ideas that go next level. The foam tombstones are so realistic, people actually stop and read them. That’s the ultimate compliment.
4. Creepy candelabra makeover
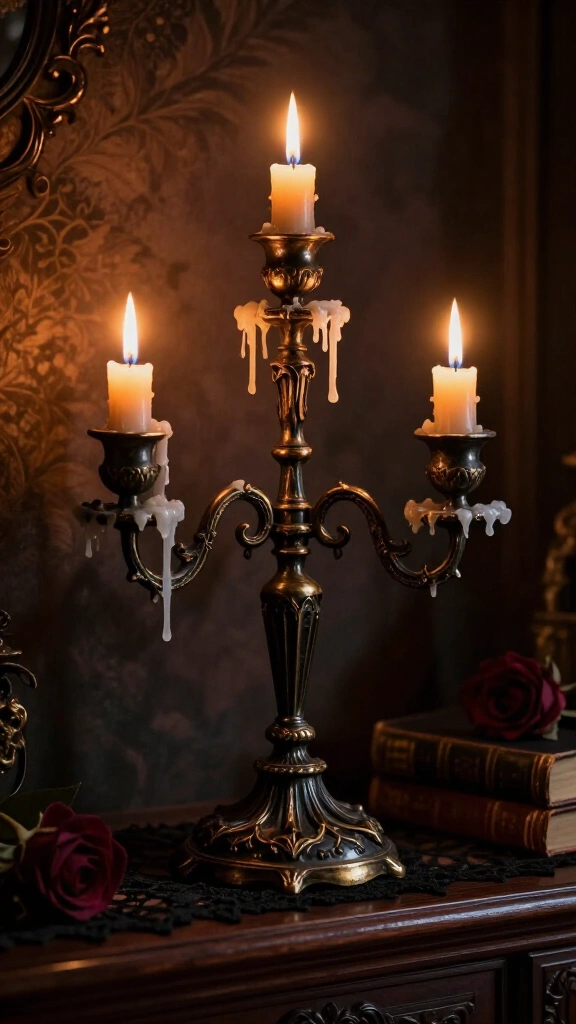
Found a cheap plastic candelabra at the dollar store? Perfect. Hit it with matte black spray paint, drip hot glue down the arms to mimic melted wax, then dry-brush on some silver or gold. The transformation is genuinely shocking — it looks like a Gothic antique worth $80.
Add battery-operated taper candles (also dollar store finds) and you’ve got a moody centerpiece that works on a mantle, a dining table, or an entryway console. The hot glue wax drip trick sounds messy but it’s actually super forgiving. Even beginners nail it on the first try.
5. Spider web mirror frame
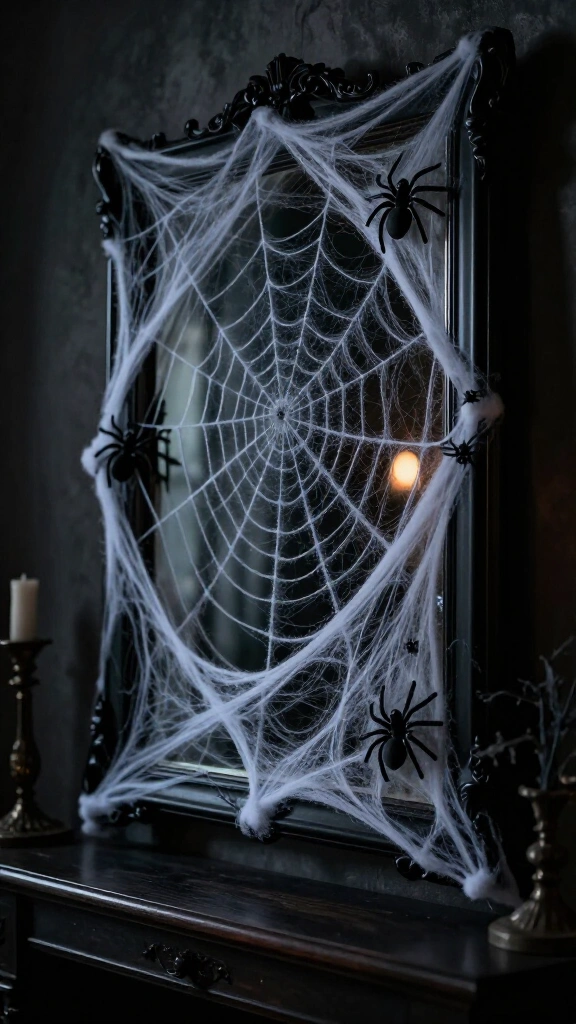
Pick up an inexpensive plastic mirror or picture frame and a bag of stretchy spider web material from the dollar store. Hot glue the web material around the frame edges, add a few plastic spiders, and spray the whole thing black if the frame color doesn’t work for your setup. The result is a haunted mansion-worthy mirror that looks straight out of a designer Halloween collection.
Hang it in your entryway or above a console table for an immediate dramatic effect. The spider web texture catches the light in a way that looks genuinely intentional and polished. The total cost runs under $3, but the impact is massive.
6. Black feather wreath
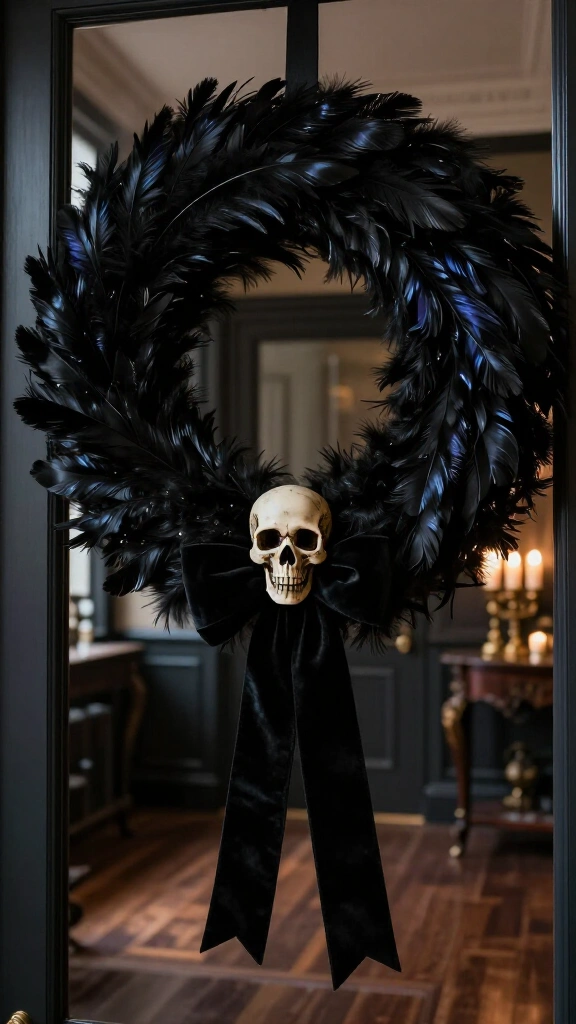
A foam wreath form from the dollar store plus a bag of black feathers equals pure Halloween elegance. Hot glue the feathers in overlapping layers around the wreath, working from the outside in, until the foam disappears completely. Add a velvet black ribbon bow or a small skull accent to finish it off.
This wreath has serious Gothic glamour energy and looks like it came from an upscale boutique. If you love this look, you’ll want to explore more elegant Halloween decor ideas to go full sophisticated spooky. The whole project takes about 30 minutes and costs roughly $4 total.
7. Potion bottle shelf display
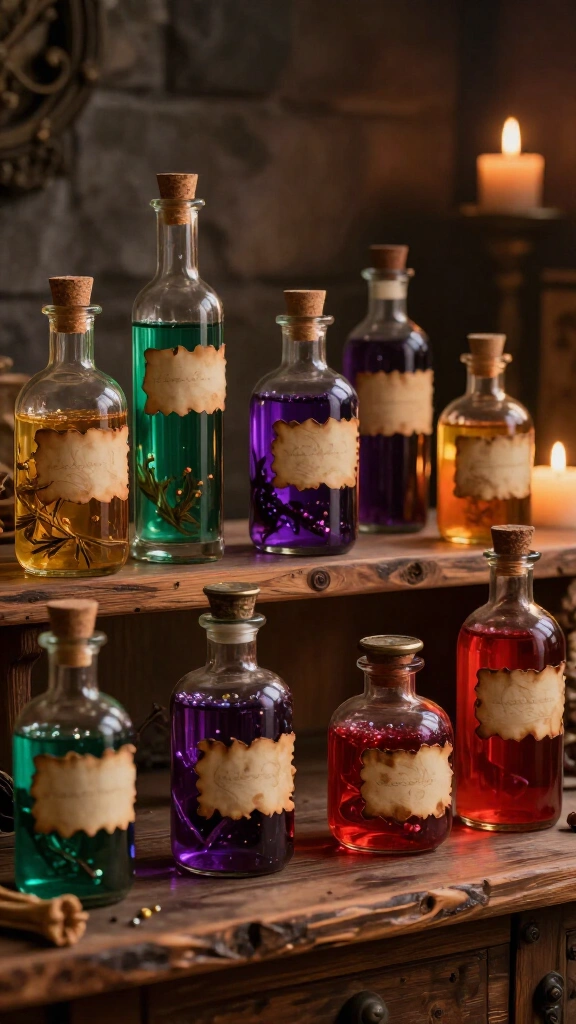
Dollar store glass bottles, vials, and small jars become striking potion bottle displays when you fill them with colored liquids, glitter, or small objects and add custom labels. Use aged parchment-style paper for the labels and distress the edges with a lighter or tea staining for an authentic old-world feel.
Group them in odd numbers (threes and fives look most intentional) on a small shelf, windowsill, or bookcase. The varied heights and textures of different bottle shapes automatically create visual interest. It’s the kind of display that makes people lean in to read the labels, and it costs almost nothing to pull together.
8. Cheesecloth ghost figures
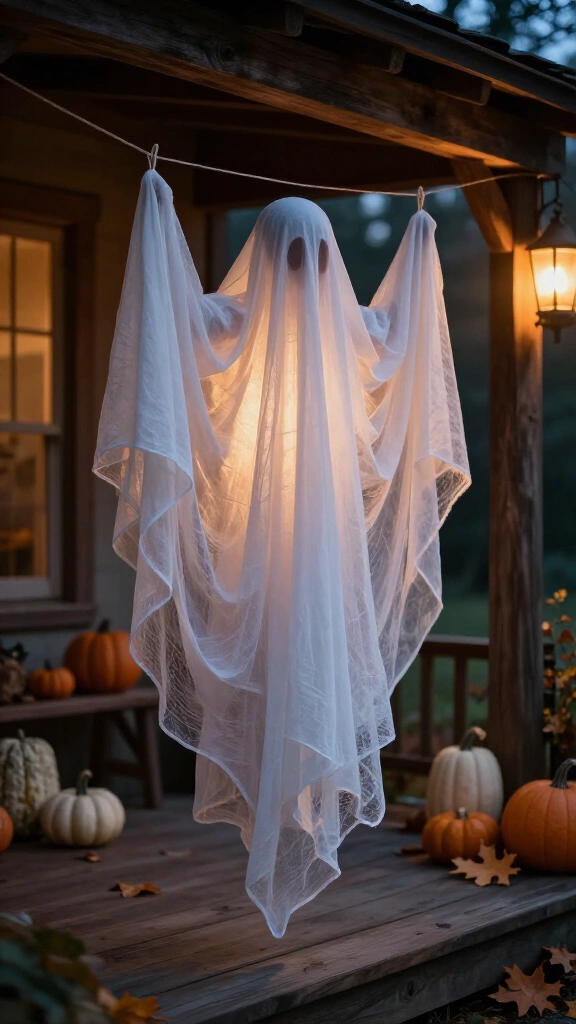
Buy a roll of cheesecloth and a few dollar store Styrofoam balls to create floating ghost figures that look incredibly ethereal and professional. Dip the cheesecloth in a mix of white glue and water, drape it over a balloon or Styrofoam ball form, and let it dry in a ghost shape. Once dry and stiffened, they hold their shape beautifully.
Hang them from your porch, trees, or ceiling with clear fishing line for a ghostly floating effect. The translucent, wispy quality of the cheesecloth catches light and wind in a way that looks genuinely spooky. Better Homes & Gardens consistently lists cheesecloth ghosts among the most popular budget Halloween DIYs, and it’s easy to see why.
9. Mummy mason jar lanterns

Wrap dollar store mason jars with cream-colored gauze or torn strips of white fabric, leaving a small gap for googly eyes. Pop a battery-operated tea light inside and the effect is absolutely adorable and surprisingly sophisticated when done in a grouping. Line them up your entryway steps or cluster them on a tray.
The warm glow from inside makes the “bandages” look almost luminous. Use jars in varying sizes for a more curated, intentional display. This project works well for families with kids who want something fun but still stylish enough for adult decor standards.
10. Faux moss-covered pumpkins
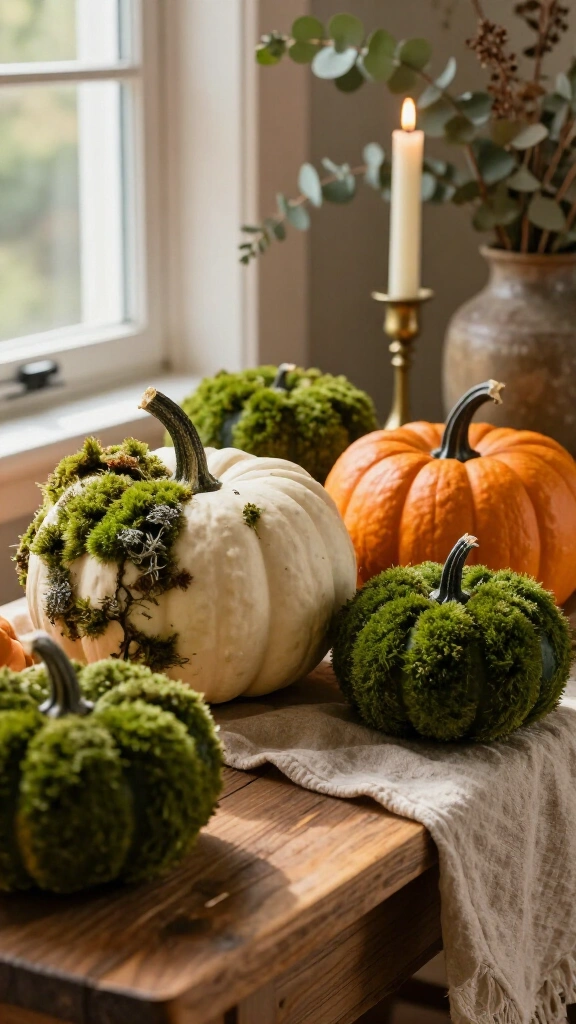
Foam pumpkins from the dollar store get a botanical makeover when you cover them in preserved moss or craft moss (also dollar store finds). Use a hot glue gun to apply the moss in patches, fully covered or partially for a “just emerged from the earth” look. The earthy green against the orange or white foam is genuinely beautiful.
Mix moss-covered pumpkins with plain ones in a vignette for contrast and depth. This technique is popular in high-end fall decor right now, and designers charge premium prices for moss-covered pieces. You’re doing it for under $5. That’s a major win.
11. Painted black pumpkin display
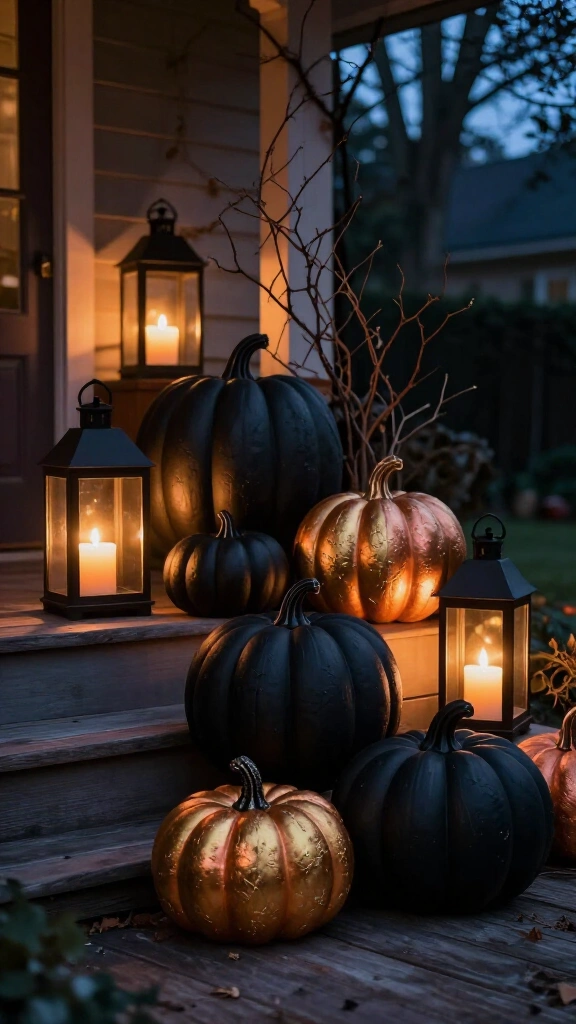
A can of matte black spray paint and dollar store foam pumpkins create some of the most sophisticated Halloween decor you’ll ever see. All-black pumpkins have been trending in upscale home decor for years, and for good reason. They’re sleek, dramatic, and work with almost any aesthetic.
Arrange them in a cluster on your porch with some black lanterns and dried branches. Add gold or copper metallic accents using a dry brush for a two-tone finish that looks genuinely polished. For more chic outdoor ideas, browse these 19 classy Halloween decor outdoor ideas that nail the upscale spooky look.
12. Gothic candleholder cluster

Round up every mismatched candleholder you can find at the dollar store, in different heights, shapes, and sizes. Spray them all in the same color (matte black or antique bronze works best) to create a unified, intentional collection. Suddenly mismatched becomes “curated.”
This is literally the trick interior stylists use when creating editorial tablescapes. The unified color treatment ties everything together and lifts cheap pieces into something that looks designed. Add battery taper candles in varied heights and you’ve got a Gothic tablescape centerpiece that’s genuinely striking.
13. Creepy doll head vase

Okay, this one is delightfully weird. Dollar store plastic baby dolls or doll heads become hauntingly cool planters or vases when spray painted in matte white or bone and filled with dried black flowers or twigs. It’s unsettling in the best possible way, and guests absolutely cannot stop talking about it.
The contrast of the delicate doll face with dark, dried botanical elements is what makes this piece feel expensive and intentional. You’d find something similar in a high-end Halloween boutique for $40. Yours costs about $2.
14. Spooky silhouette window panels
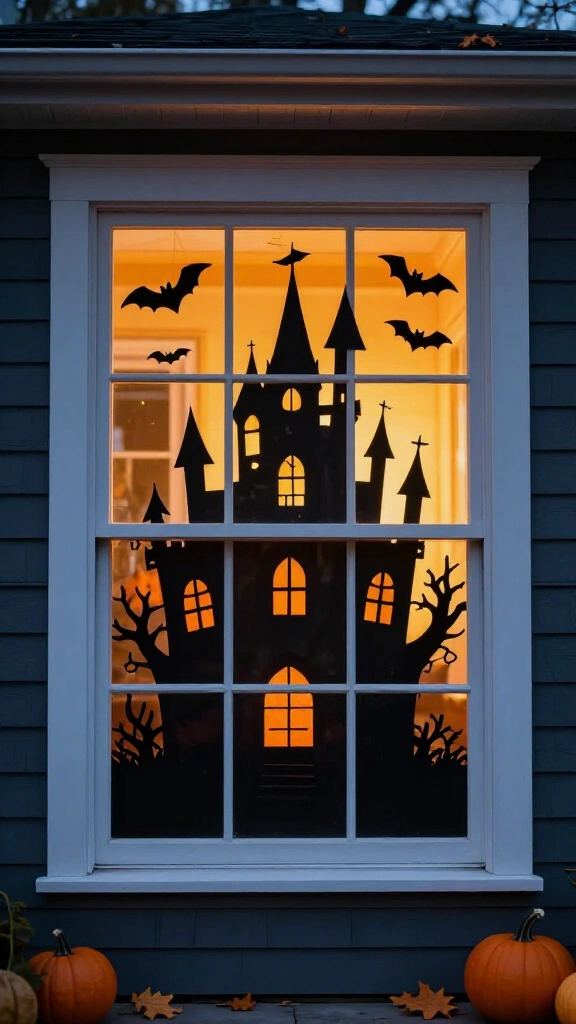
Black craft paper or dollar store black tablecloths become dramatic window silhouette displays when you cut out shapes like bats, ravens, haunted houses, or witch silhouettes. Tape them to the inside of your windows so they show from outside when the light is on inside. The effect at night is genuinely theatrical.
Print silhouette templates free from sites like Freepik and trace them onto your black paper for clean, professional-looking results. This project requires zero artistic ability but looks like it took serious skill. Your whole house will look like a haunted set from the street.
15. Skeleton hand candle holder
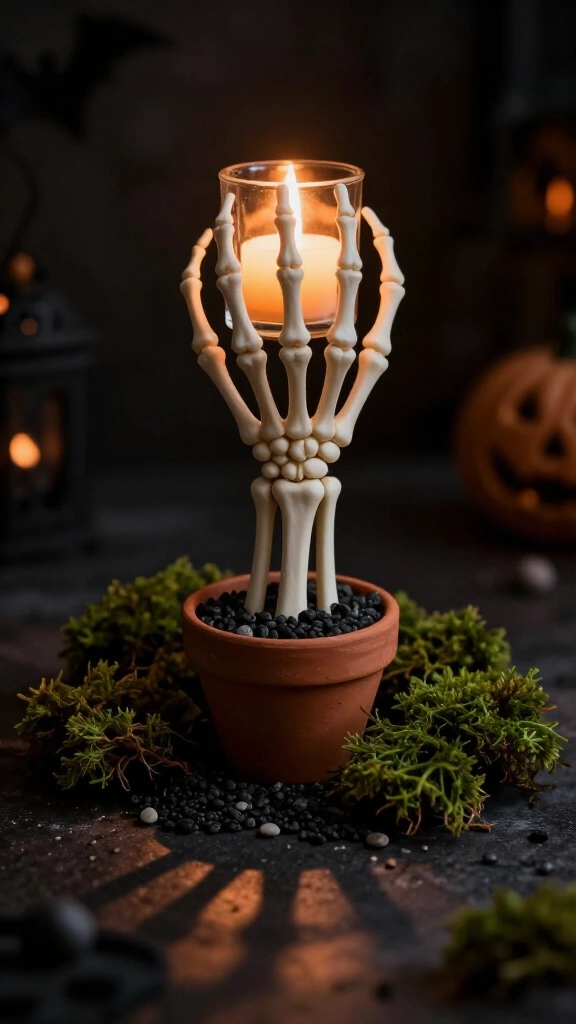
Dollar store plastic skeleton hands are a goldmine for Halloween DIYers. Push the wrist end into a base of floral foam or a small pot filled with sand or pebbles, and position the fingers to cup a pillar candle or glass votive. The hand appears to be rising from the ground, holding the light, and it looks genuinely creepy and cool.
Spray the hand and base with the same matte finish for cohesion. Add some dried moss or black gravel around the base for a finished, polished look. Good Housekeeping consistently ranks skeleton-themed DIYs among the most impactful dollar store Halloween projects you can make.
16. Chalkboard potion sign
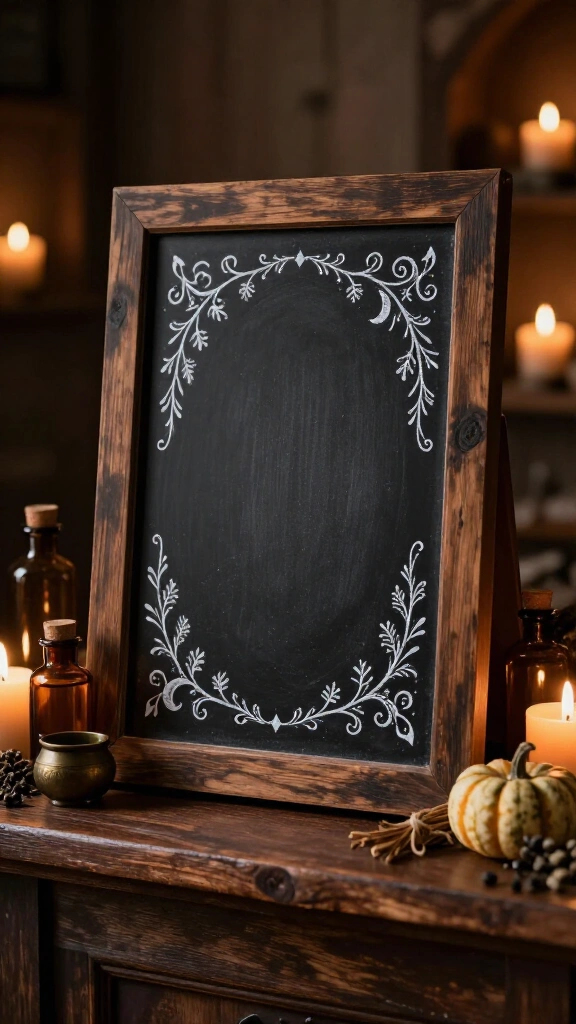
Dollar store chalkboard frames become moody, atmospheric Halloween signs when you write spooky potion menus, spell ingredients, or witchy warnings in chalk. Use chalk markers for a cleaner, more permanent look that won’t smudge when guests touch the frame. The effect is rustic meets sophisticated.
Prop one on a kitchen counter, lean it on a mantle, or hang it as an entryway statement piece. The handwritten chalkboard look is a perennial favorite in farmhouse and Gothic decor alike. It’s charming, personal, and looks wildly expensive for something that takes about 10 minutes to make.
17. Floating witch hat mobile
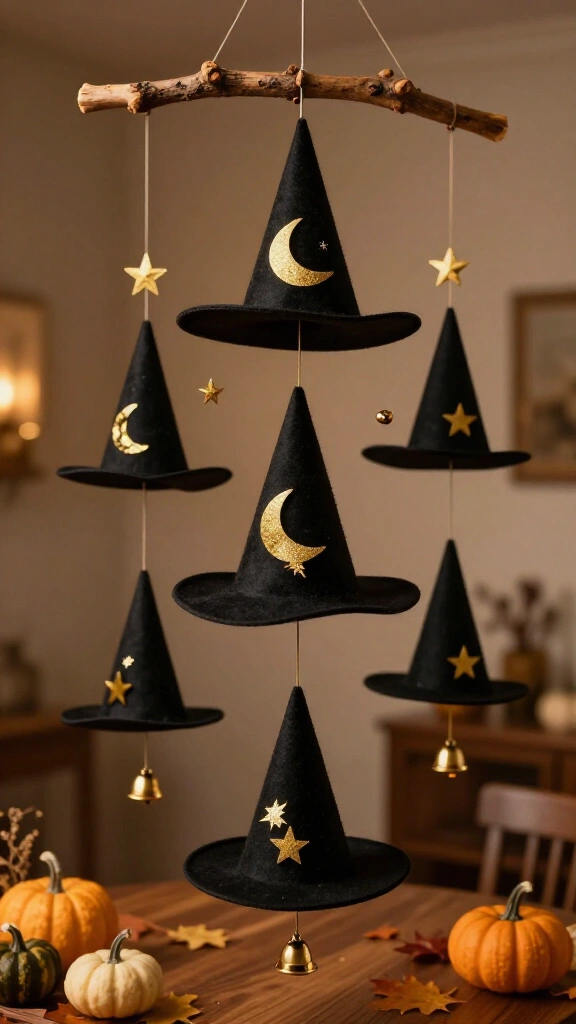
Stack and suspend dollar store witch hats at varying heights using clear fishing line and a simple wooden dowel or branch to create a mesmerizing hanging mobile. Add small stars, moons, or tiny bells cut from gold craft paper to each hat. When it moves in the air, the whole thing is genuinely magical-looking.
Hang it above a dining table, in a covered porch entryway, or in a kid’s room for maximum wow factor. The varying heights and organic movement of the mobile create the kind of visual interest that expensive store-bought pieces try and often fail to replicate. Pure crafting magic for under $5.
18. Black lace pumpkin
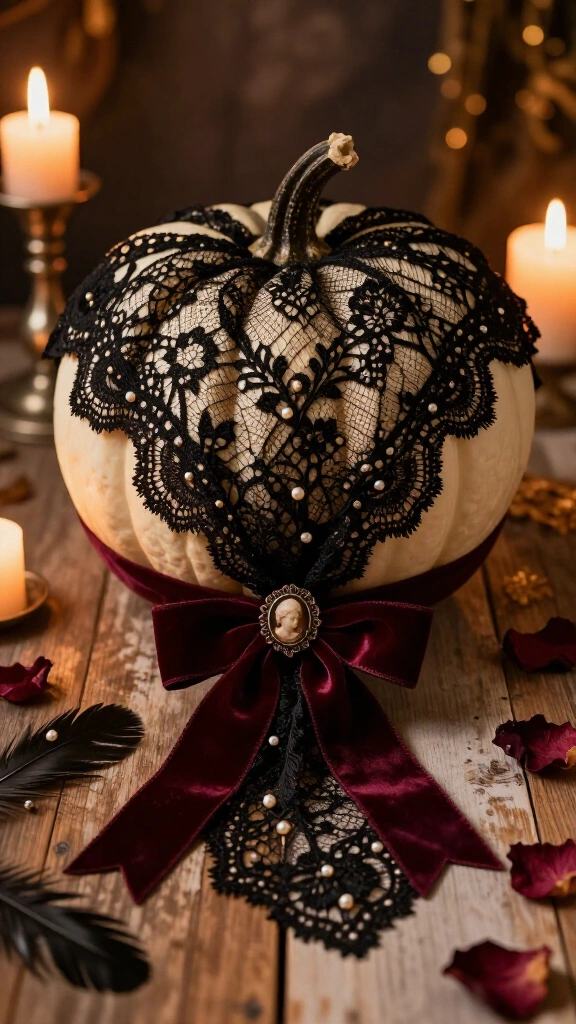
Stretch a piece of black lace fabric, found in dollar store fabric sections or repurposed from old stockings, over a white or cream foam pumpkin and secure it at the bottom with a knot or bow. The lace pattern creates the most elegant, Victorian-inspired texture you’ve ever seen on a pumpkin.
Pair with pearl pins, a small brooch, or a velvet ribbon for extra boutique-level detail. This is the kind of piece that ends up all over Pinterest with people assuming it came from an expensive home decor brand. The lace technique works on any size pumpkin, so try a collection of three in different sizes for maximum impact.
19. Glitter spider web table runner
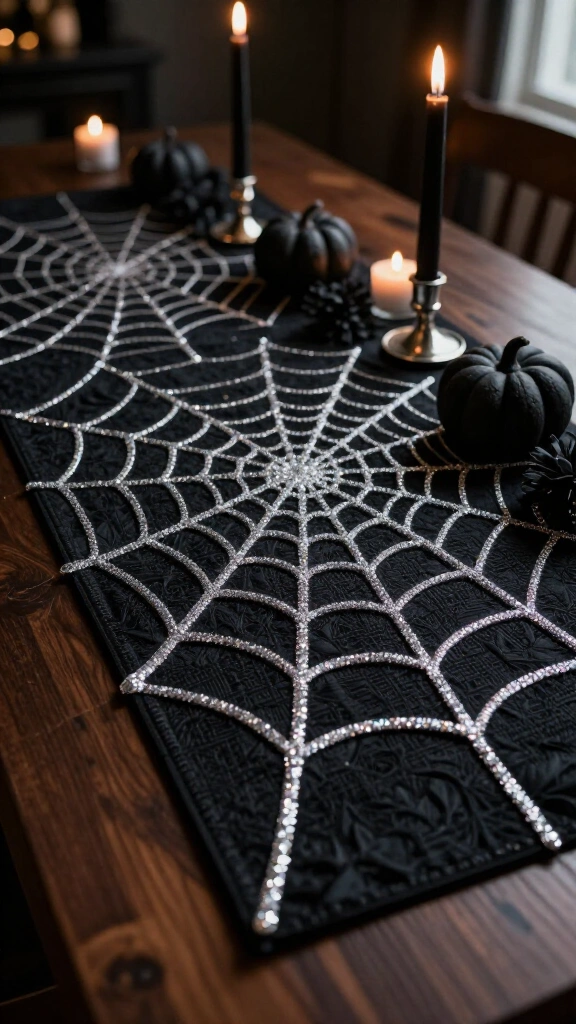
Use dollar store black fabric or a black table runner as your base, then draw a spider web design using white fabric paint or a hot glue gun. While the glue is still slightly warm, dust it with white or silver glitter. Once dry, it creates a dimensional, glittery spider web that looks like a luxury textile.
Lay it down your dining table, console table, or mantle and add your other spooky decor on top. The handmade texture gives it an artisanal quality you genuinely cannot buy in stores at any price. It’s the kind of finishing touch that pulls an entire room together and makes your whole Halloween living room decor look cohesive and considered.
Wrapping it all up
There you have it: 19 dollar store Halloween DIY projects that prove you don’t need a big budget to create a seriously impressive haunted home. The real secret isn’t how much you spend. It’s about technique, styling, and intentional design choices like unified color palettes, varied heights, and quality finishes.
A few things worth remembering as you get started:
- Spray paint is your best friend. A unified finish makes cheap items look expensive instantly.
- Group items in odd numbers. Threes and fives always look more curated.
- Layer textures. Moss, lace, feathers, and fabric add depth that reads as high-end.
- Battery-operated candles lift any arrangement with warm, flattering glow.
- Labels and handwritten details add the boutique touch that makes displays feel personal and considered.
Whether you tackle one project or all 19, you’re going to surprise yourself with what a $1 to $3 dollar store find can become with a little creativity. Halloween is the one holiday where going all out is always the right answer. Now go make something wonderfully spooky, because your dollar store haul is waiting.
Want to keep the momentum going? Explore even more budget-friendly inspiration with these 19 indoor Halloween decor ideas that look high-end without spending a fortune, because why stop at one room when you can haunt the whole house?